
Where Union Joints Earn Their Place
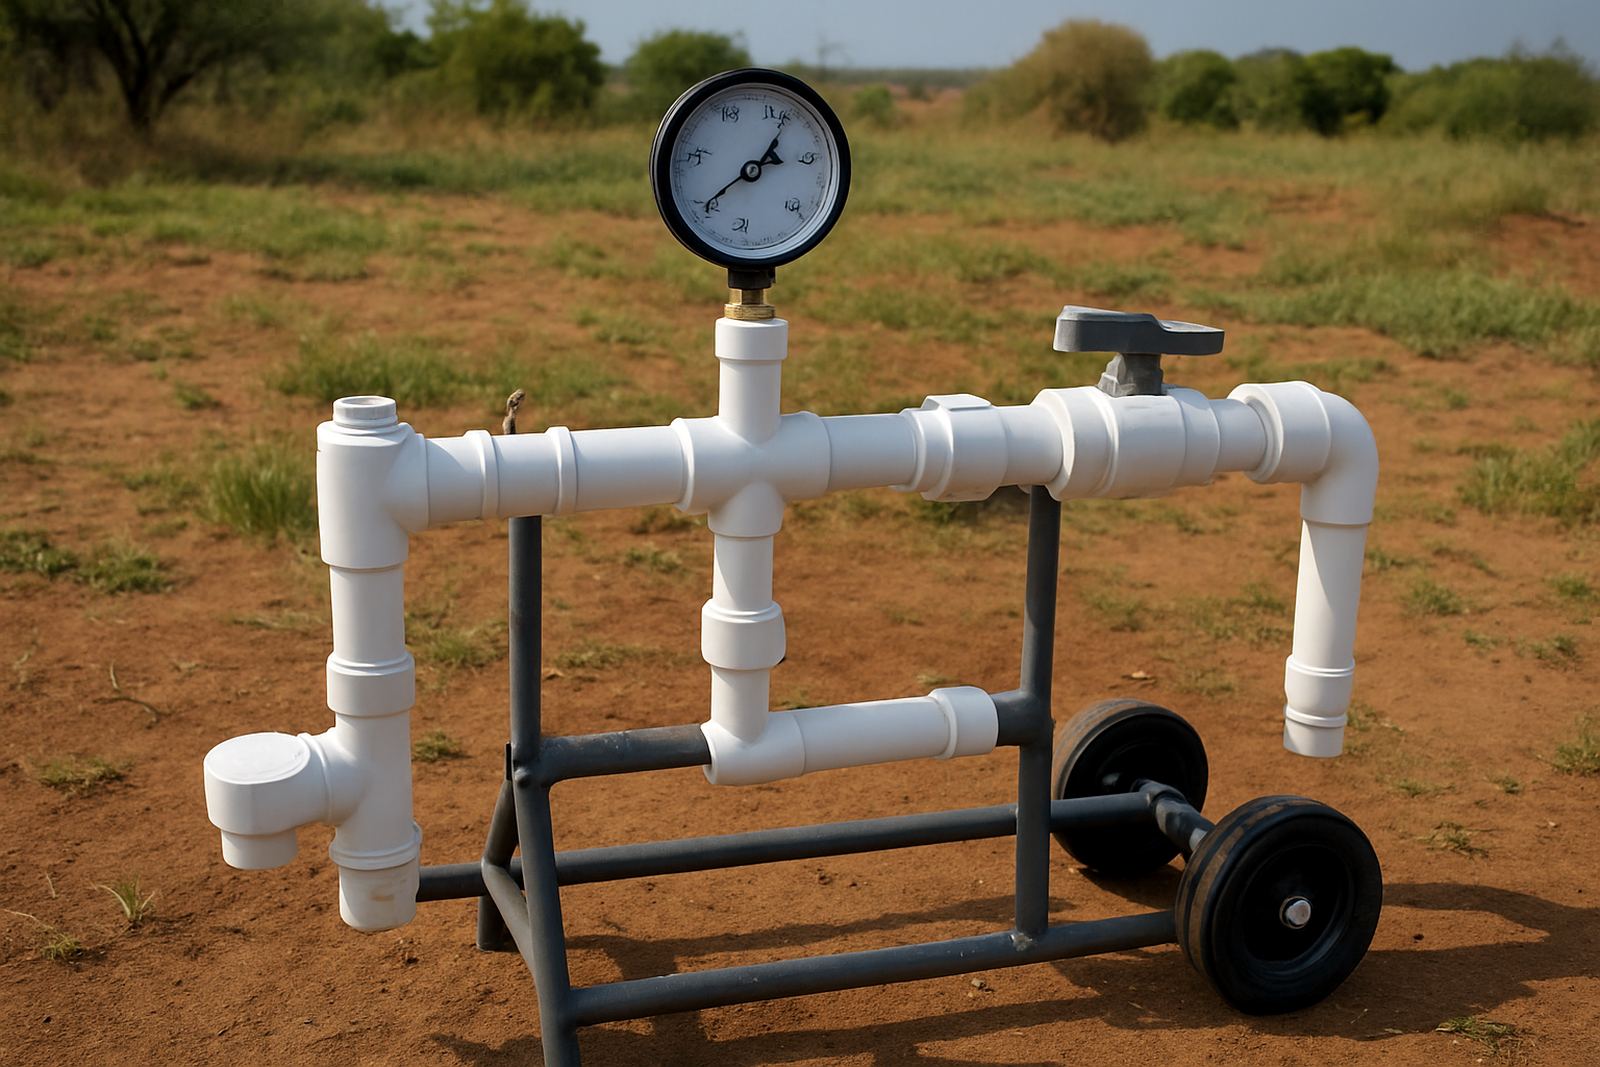
A union joint is best used where you expect future access to a pipe line without cutting and re-solventing the whole section. In irrigation work, that usually means pump rooms, manifold runs, filter lines, valve boxes, and long mainlines where a section may need removal for servicing. On farms and estates, this saves hours when a filter cracks, a valve body needs attention, or a line must be lifted for trench work.
They are also useful where the pipe route may change later. If a line crosses a driveway, follows a boundary fence, or runs near planted rows, a union gives you a clean break point. That makes planning much easier for contractors and maintenance teams. In hotter inland areas and coastal zones with moisture and corrosion pressure, having a service point already built in can make routine checks far simpler.
- Use them at pump outlets and suction-side service points where permitted by the system design.
- Place them before and after filters, metres, pressure regulators, and control valves.
- Fit them where pipe sections may need removal for seasonal changes or future expansion.
- Avoid burying them too deep unless there is a proper access box or chamber.
How to Choose the Right Spot Before You Glue Anything
Good union placement starts before the first cut is made. Walk the line and mark the points where a technician may need to undo the pipe in future. Think about access with tools, not just access with a hand. A union hidden behind a wall, in a tight trench bend, or under a fixed slab is not helping anyone later.
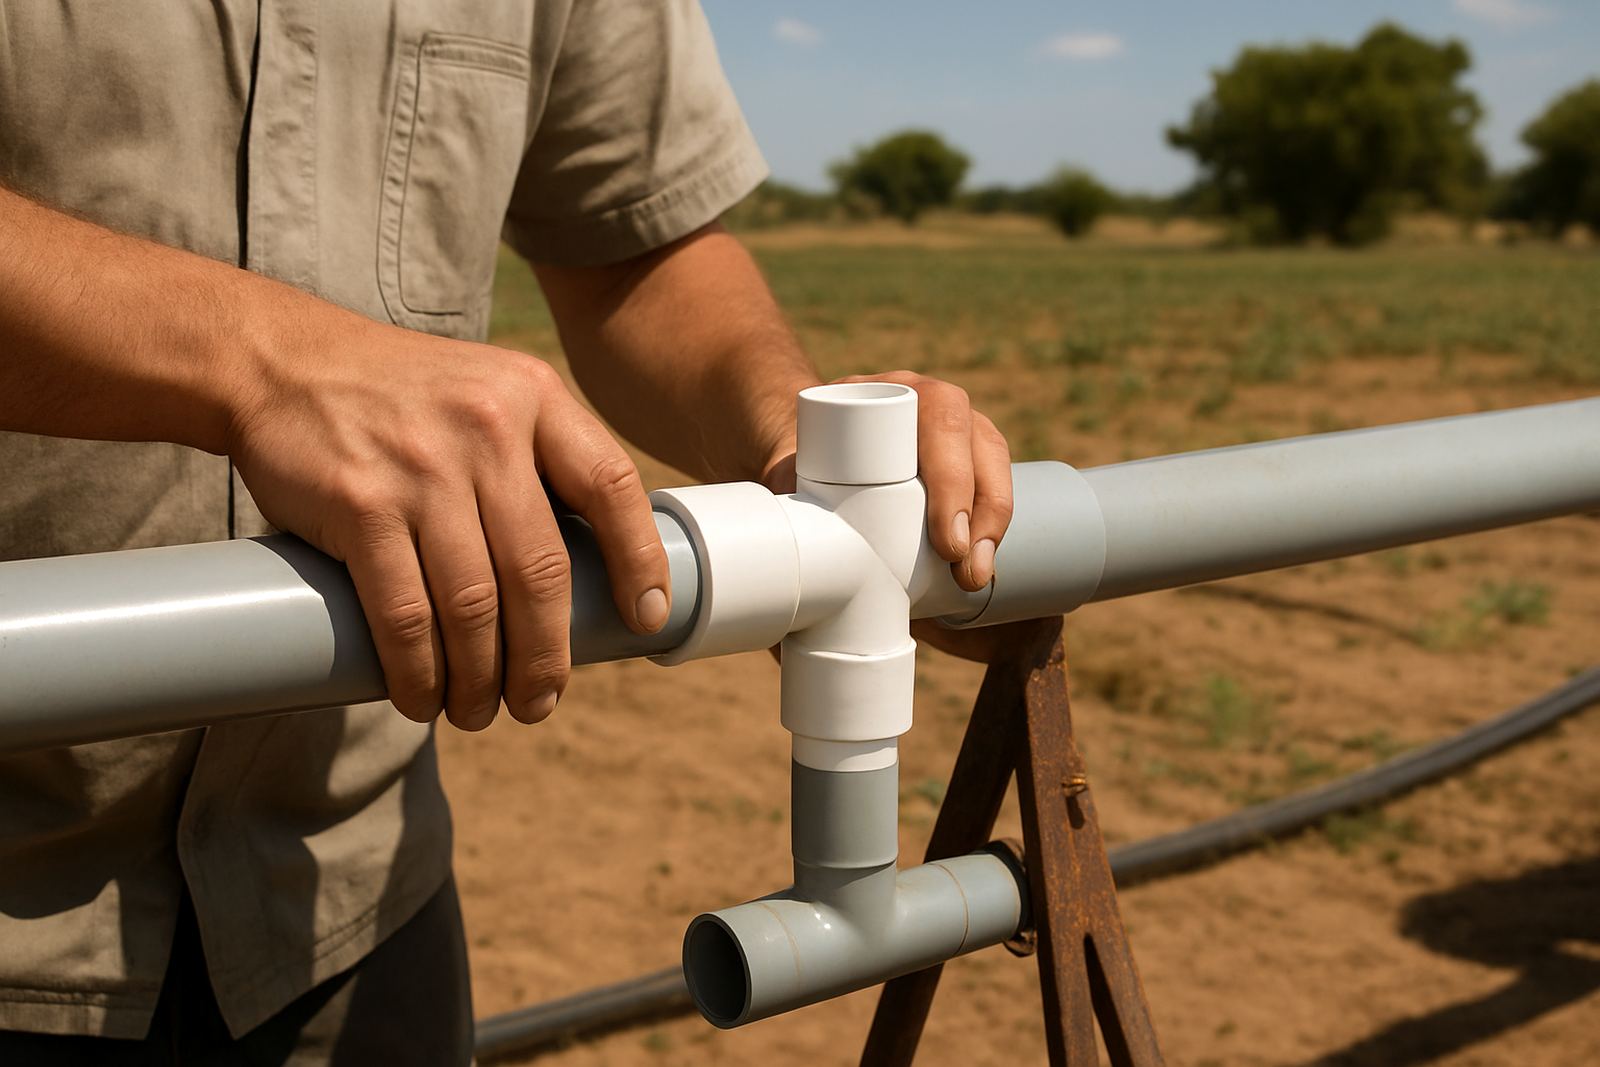
Leave enough straight pipe on both sides of the fitting. This gives you room for clean assembly and future removal. In a pressurised irrigation system, a badly placed union can place strain on nearby elbows and tees, especially if the pipe is not properly supported. On larger agricultural layouts, it is worth planning unions at regular service intervals rather than waiting until a breakdown forces a rushed change.
- Check that the joint can be reached without removing other fittings first.
- Keep it above ground or in a chamber if regular access is needed.
- Allow space for tightening by hand and for the pipe to be separated later.
- Make sure the location will not be buried by future soil build-up or paving.
Fitting a Union So It Can Be Opened Again Later
A union only earns its keep if it can be opened again without forcing or damaging the pipe. Clean pipe ends properly, dry-fit the line first, and confirm the alignment before solvent welding. Once the adhesive is set, the union nut should tighten by hand and seal without needing excessive force. If the line is twisted or under tension, the union may leak later or be hard to undo.
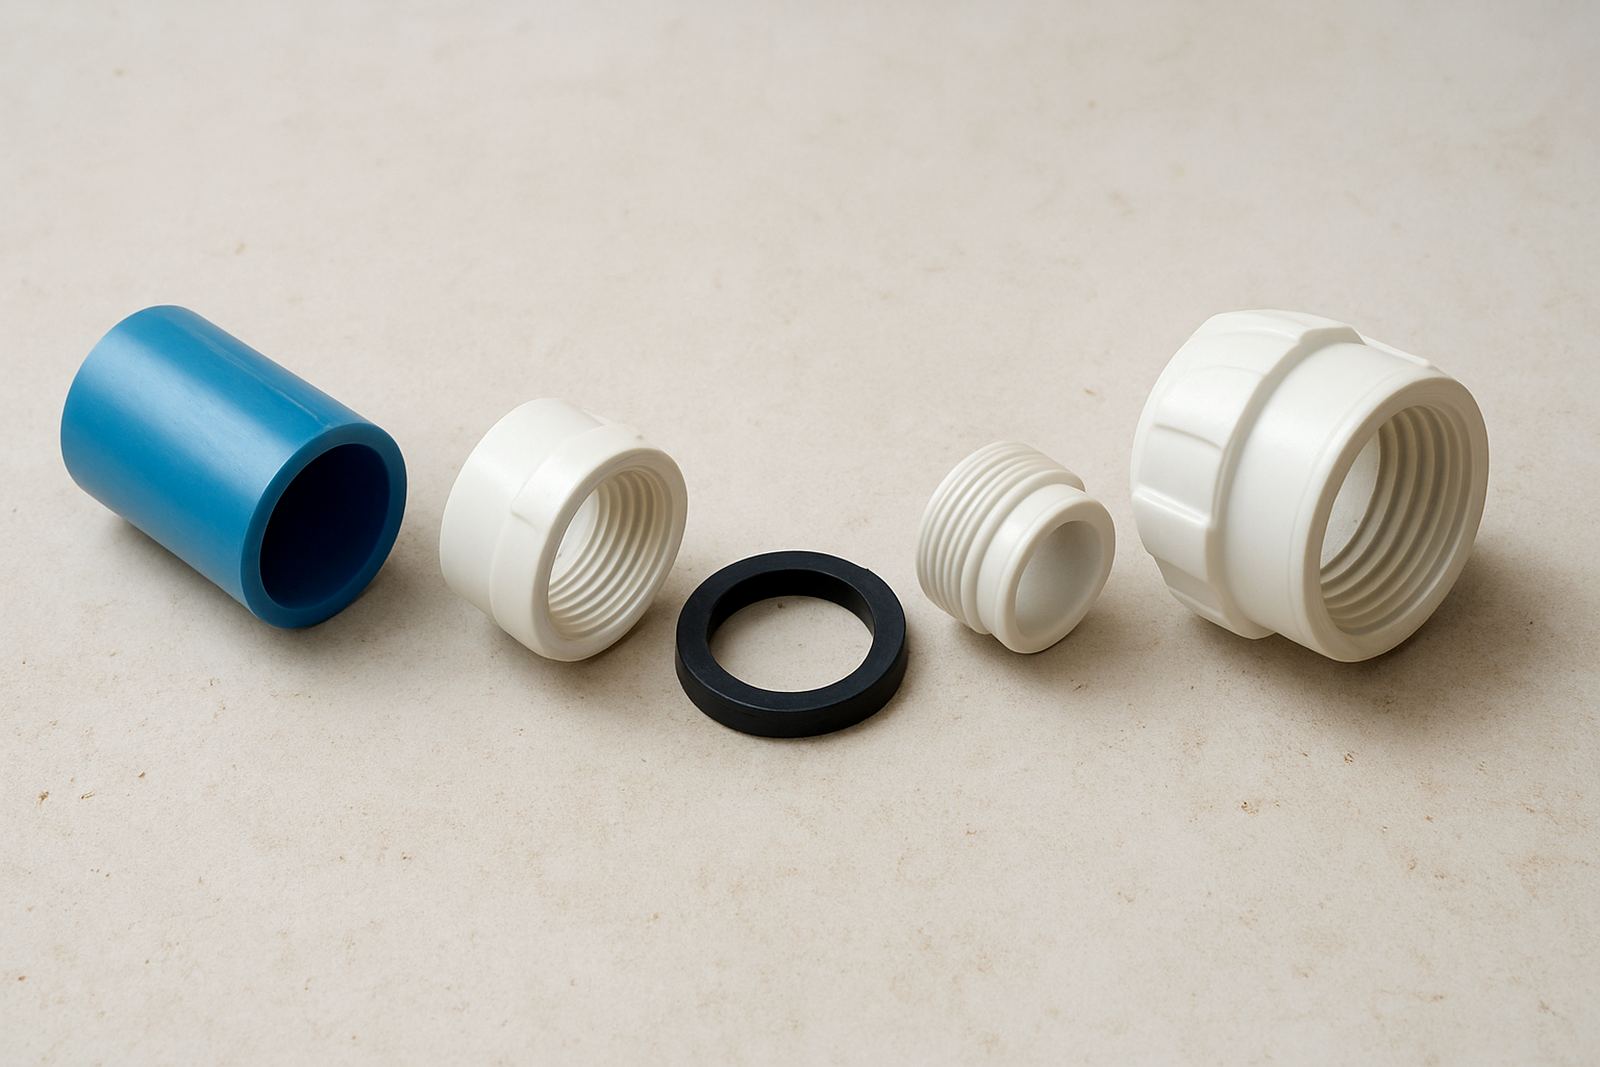
Take care with thread direction and sealing surfaces. The union faces need to mate squarely, and the body should sit in line with the pipe route. If there is vibration from a pump, fit nearby support so the joint is not carrying movement on its own. In coastal humidity or dusty inland conditions, a little extra care during assembly can prevent future seizing and wear.
- Dry-fit the full section first and check alignment from both ends.
- Do not force the union together if the pipe line is pulling sideways.
- Support nearby pipe so the joint is not carrying unnecessary weight.
- Test the joint under pressure before backfilling or closing access panels.
Access Planning for Repairs and Seasonal Maintenance
Think about how the line will be serviced in six months or two years, not just on installation day. If a union is placed in a valve box, leave enough working room around it for hands, a spanner, and safe removal of the pipe section. In irrigation systems with repeat flushing or seasonal cleaning, the joint should be easy to find and easy to open. A neat line today can still become a headache later if there is no access left for maintenance.
For buried systems, an access chamber or marker is often worthwhile. That is especially true where the line crosses grassed areas, crop rows, or gravel surfaces that may be altered after installation. Make a note on the job card or system plan so the owner or maintenance team knows where the service point is. That small record saves time, and yes it saves a few headaches too.
- Use chambers or boxes where the union will be underground.
- Keep the area free of roots, paving and loose fill that can block access.
- Mark the point on the system layout for future repair teams.
- Check that lids, covers, or removable panels can be lifted easily.
Common Mistakes That Make Union Joints Hard to Use
The most common mistake is treating a union like an ordinary fitting. If it is placed where nobody can reach it, or if the pipe is not supported, it will be a nuisance from day one. Another mistake is over-tightening the nut. That can damage the sealing face and make the fitting harder to open later. A union should close firmly, not be cranked down until it feels locked solid.
It is also a mistake to ignore system pressure and pipe movement. When a pump starts and stops, the line shifts a little. If the union is not properly aligned or if there is no support nearby, the joint can work loose over time. On farm lines, contractors should also avoid mixing access points with places where tractors, loaders, or maintenance vehicles regularly pass. That just invites breakage.
- Do not bury a service union with no access point.
- Do not fit it where the pipe is under sideways strain.
- Do not overtighten the nut beyond a firm hand seal.
- Do not place it in a spot that will be blocked by machinery or future landscaping.
Quick Checklist Before You Close the Trench
Before backfilling or closing the area, run through a simple check. The union should be straight, reachable, and clearly marked. The pipe on both sides should be supported, and the joint should have been tested under pressure. If the system will be exposed to sun, dust, or frequent cleaning, confirm that the location still allows the fitting to be opened without digging around it later.
This final check is worth the time because a well-placed union can save a full section of pipe from being cut out later. For farms, contractors, and landscapers, that means shorter downtime and less waste. It also makes repeat orders and future add-ons easier because the line has been planned with service in mind, not only the first install.
- Is the union easy to reach with basic tools?
- Has the pipe line been aligned without strain?
- Has the joint been pressure tested?
- Is there a marker, box, or note for future access?
- Will soil, paving, or vegetation block the joint later?