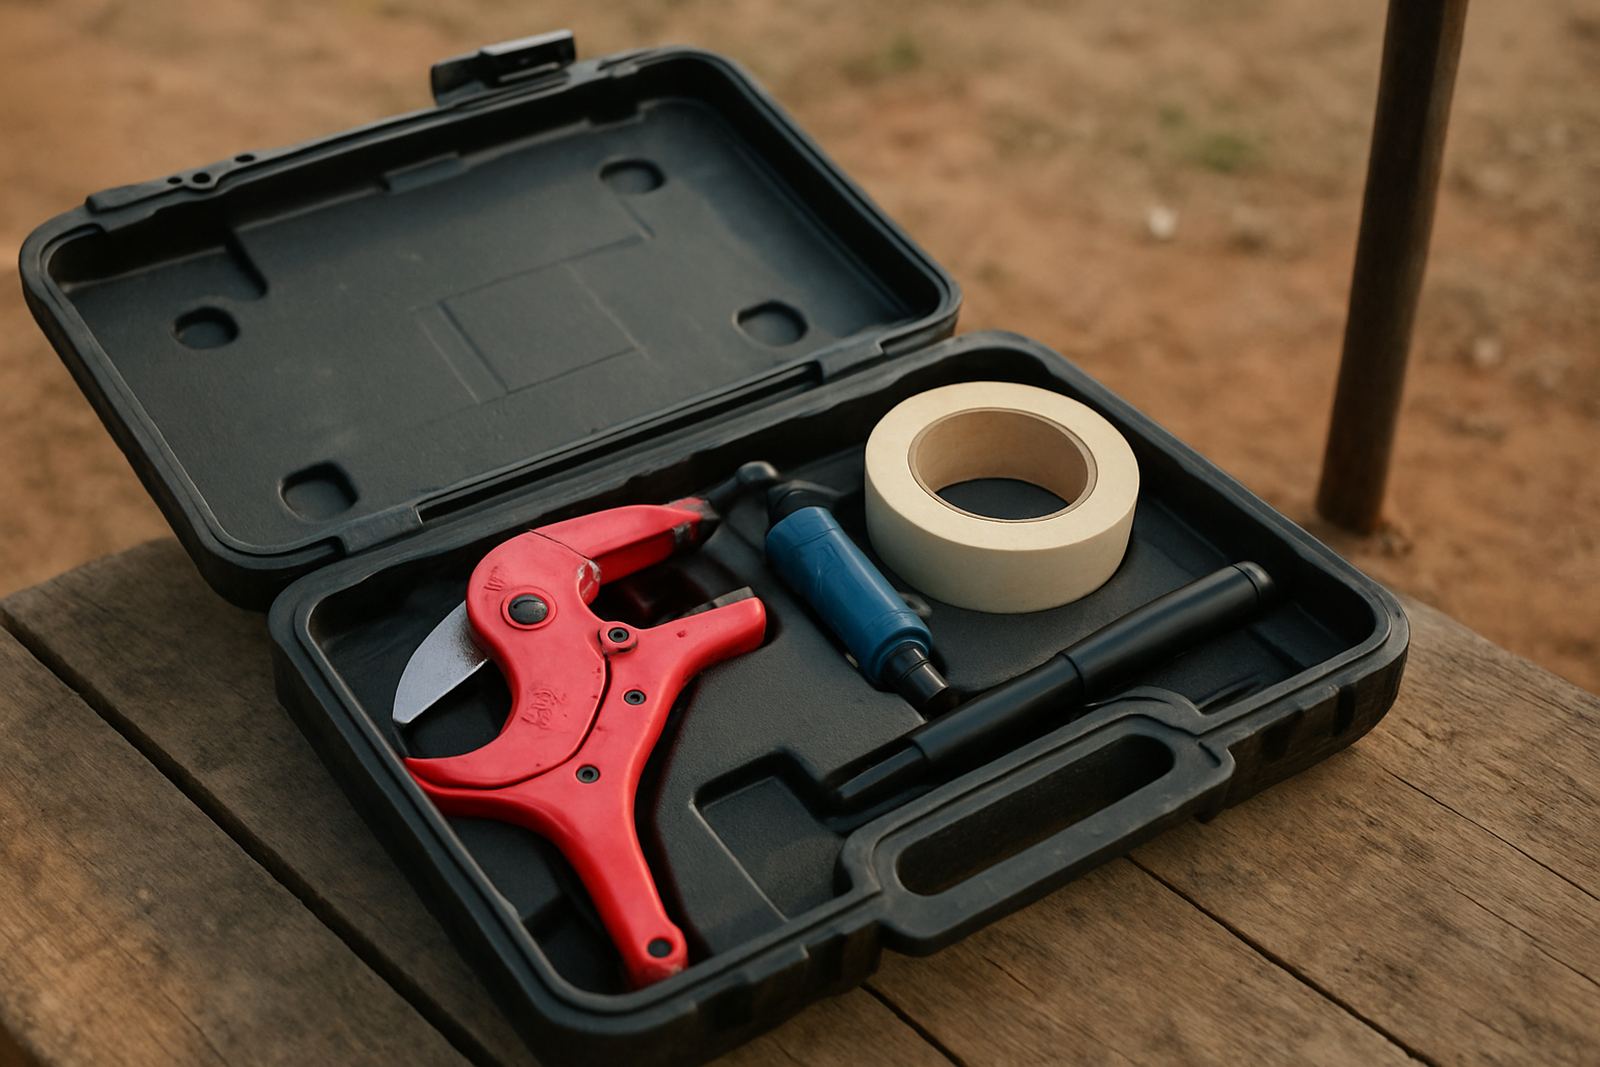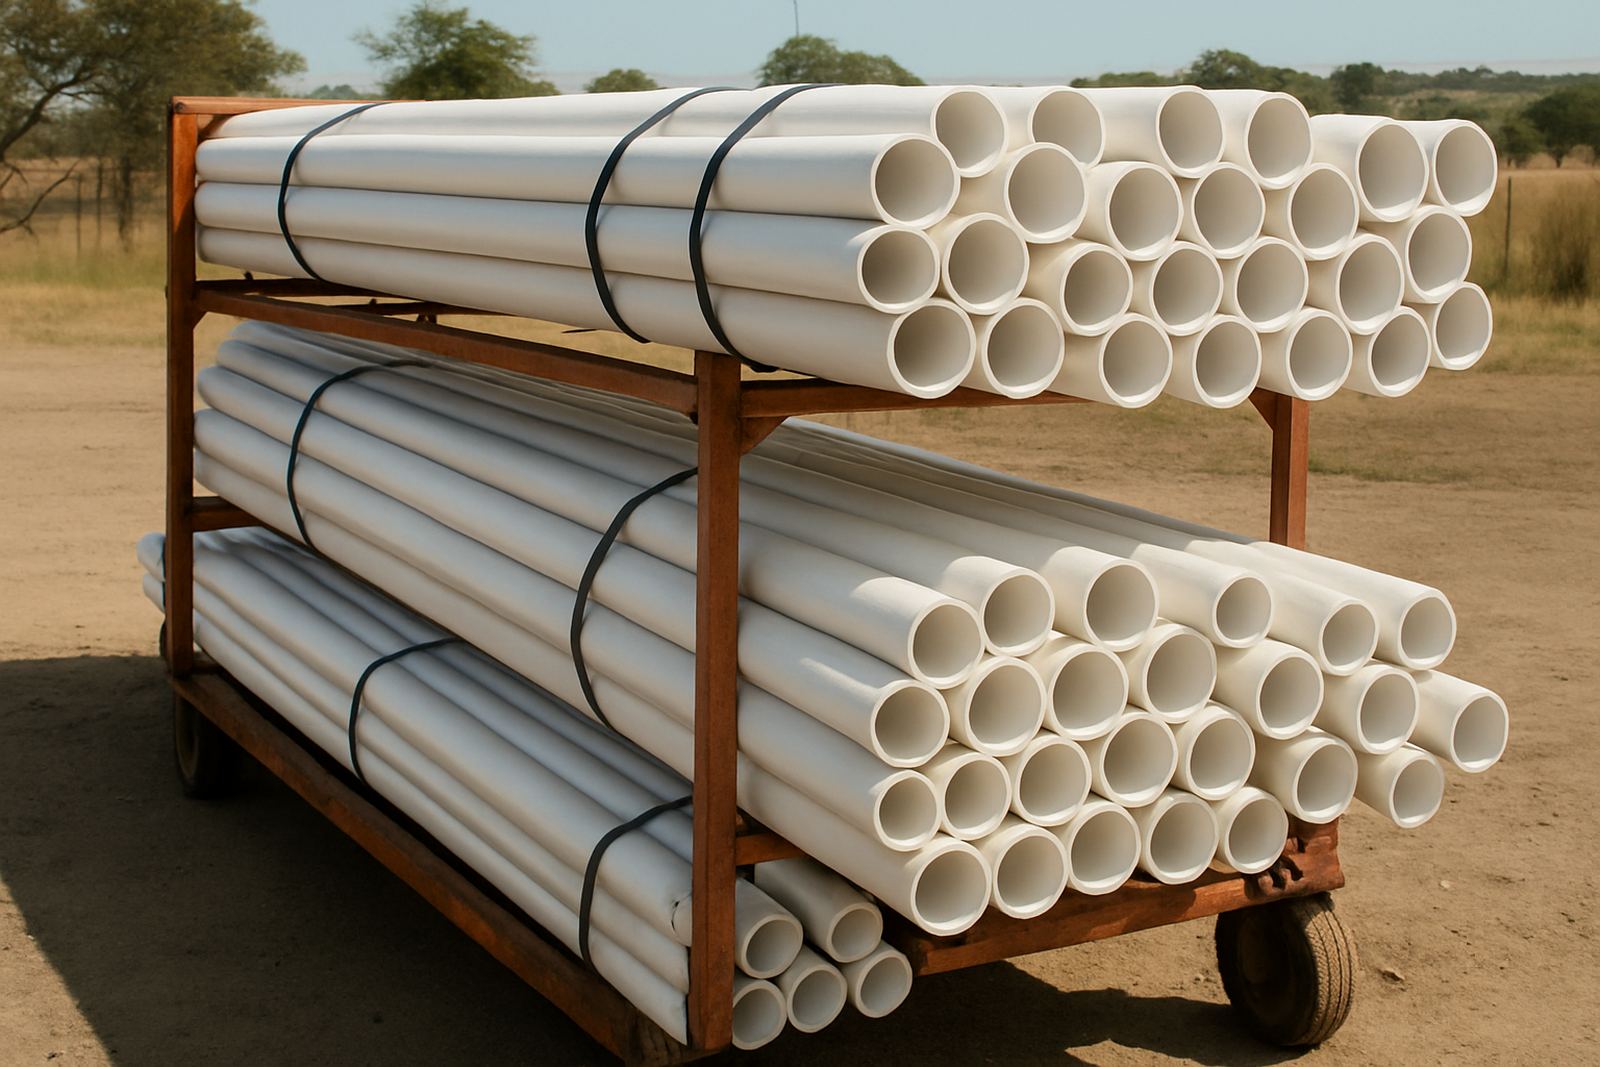

Start with a clean line and the right fittings
Before you add water, make sure every section is assembled correctly and the line is free of dirt, offcuts and solvent residue. Check that the pipe ends are square, clean and dry, and that all solvent-weld joints have had enough curing time for the pipe size, temperature and site conditions. In warm weather a line may be ready sooner, but in cool mornings or when humidity is high near the coast you should allow extra time. Do not rush this step, because a joint that has not fully cured can hold for a few minutes and then fail under pressure.
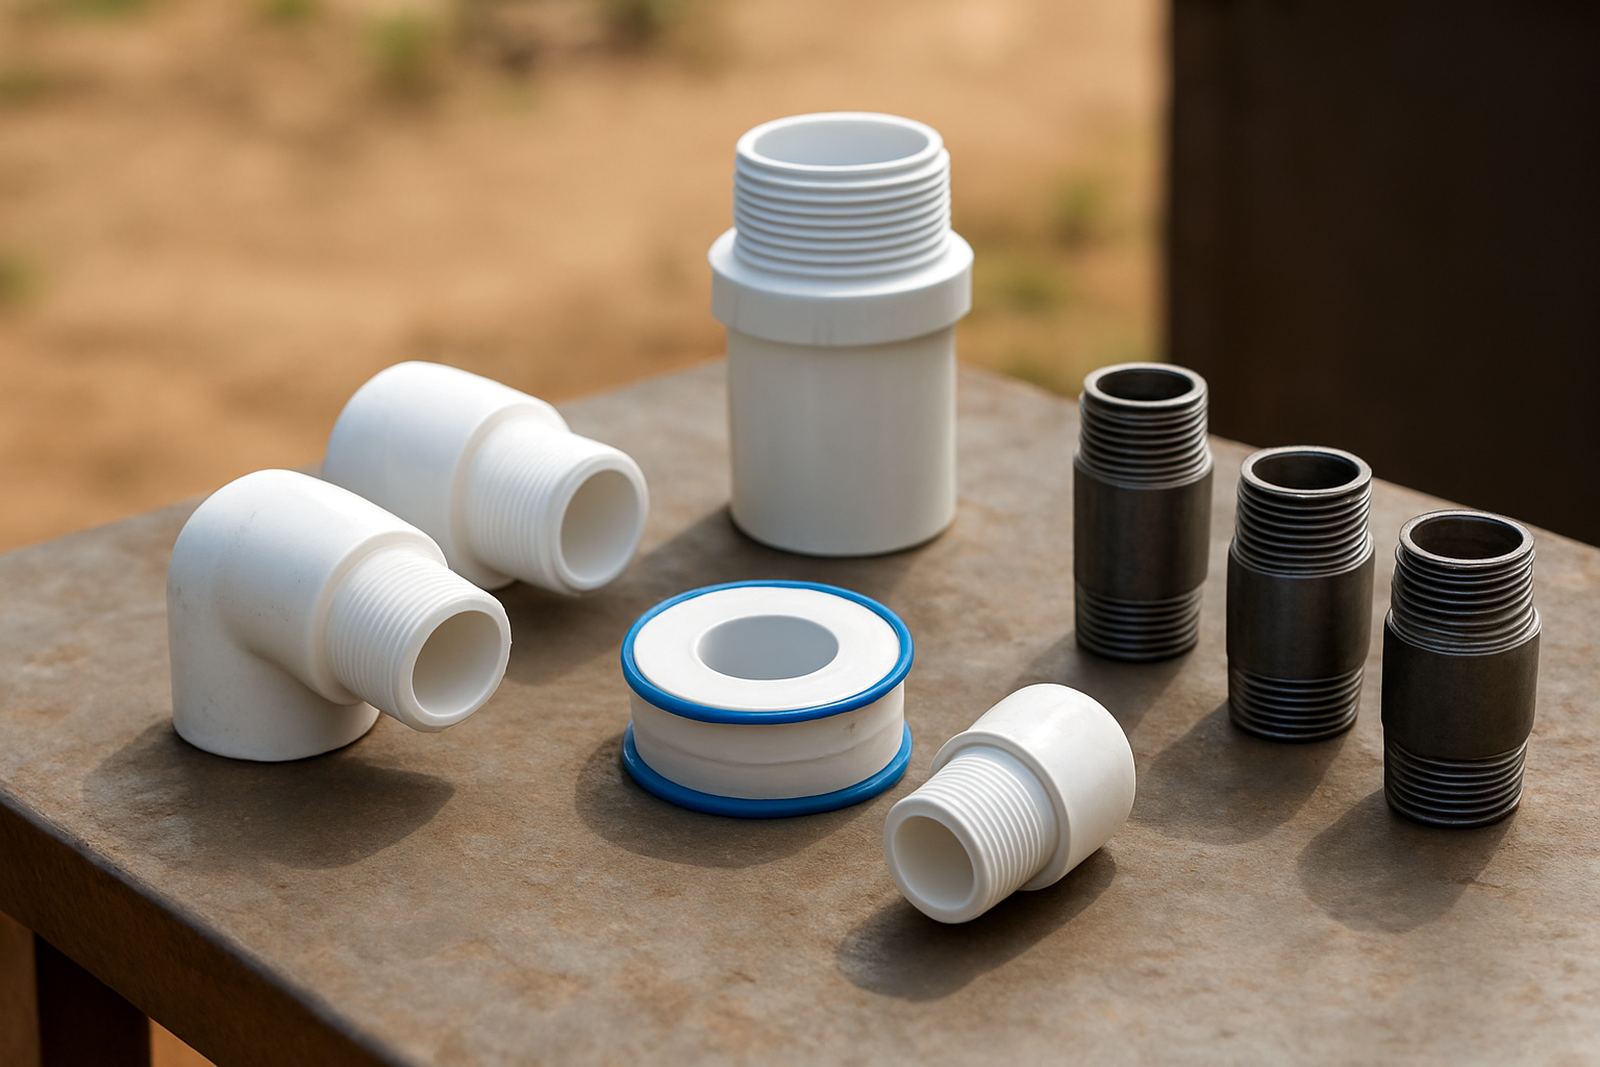
Use fittings that match the pipe size and pressure class on the job. If the line includes valves, filters, end caps or reducers, inspect each item before installation so you are not testing a system that has a known weak point from the start. On larger farm runs, label the sections if there are multiple branches. That makes fault-finding much easier if a pressure drop shows up later.
- Check pipe size, class and fitting compatibility
- Wipe out dust, sand and shavings from open ends
- Confirm solvent joints have cured properly
- Support long runs so they do not sag during testing
Isolate the section before you pressurise
Test one line or one zone at a time where possible. Close the relevant valves and make sure the section you are testing is isolated from the rest of the system. This keeps the test clear and stops a fault in another area from confusing the results. If the line feeds sprinklers, drippers or a manifold, cap off the outlets that should not be open during the test. A line with open outlets will never hold pressure properly and may look faulty when it is not.
Where a pump is used, confirm that the suction side is set up correctly and that the pump can deliver a steady pressure without surging. If the supply comes from a tank, dam, borehole or municipal source, check the water level and flow first. Pressure testing is easier when the supply is steady. It also helps to know the layout of the line before you begin, especially on bigger sites with several branches and take-offs.
- Close all valves in the test area
- Cap or blank off open ends and outlets
- Use a clear test zone, not the entire farm at once
- Confirm the supply can hold a stable pressure
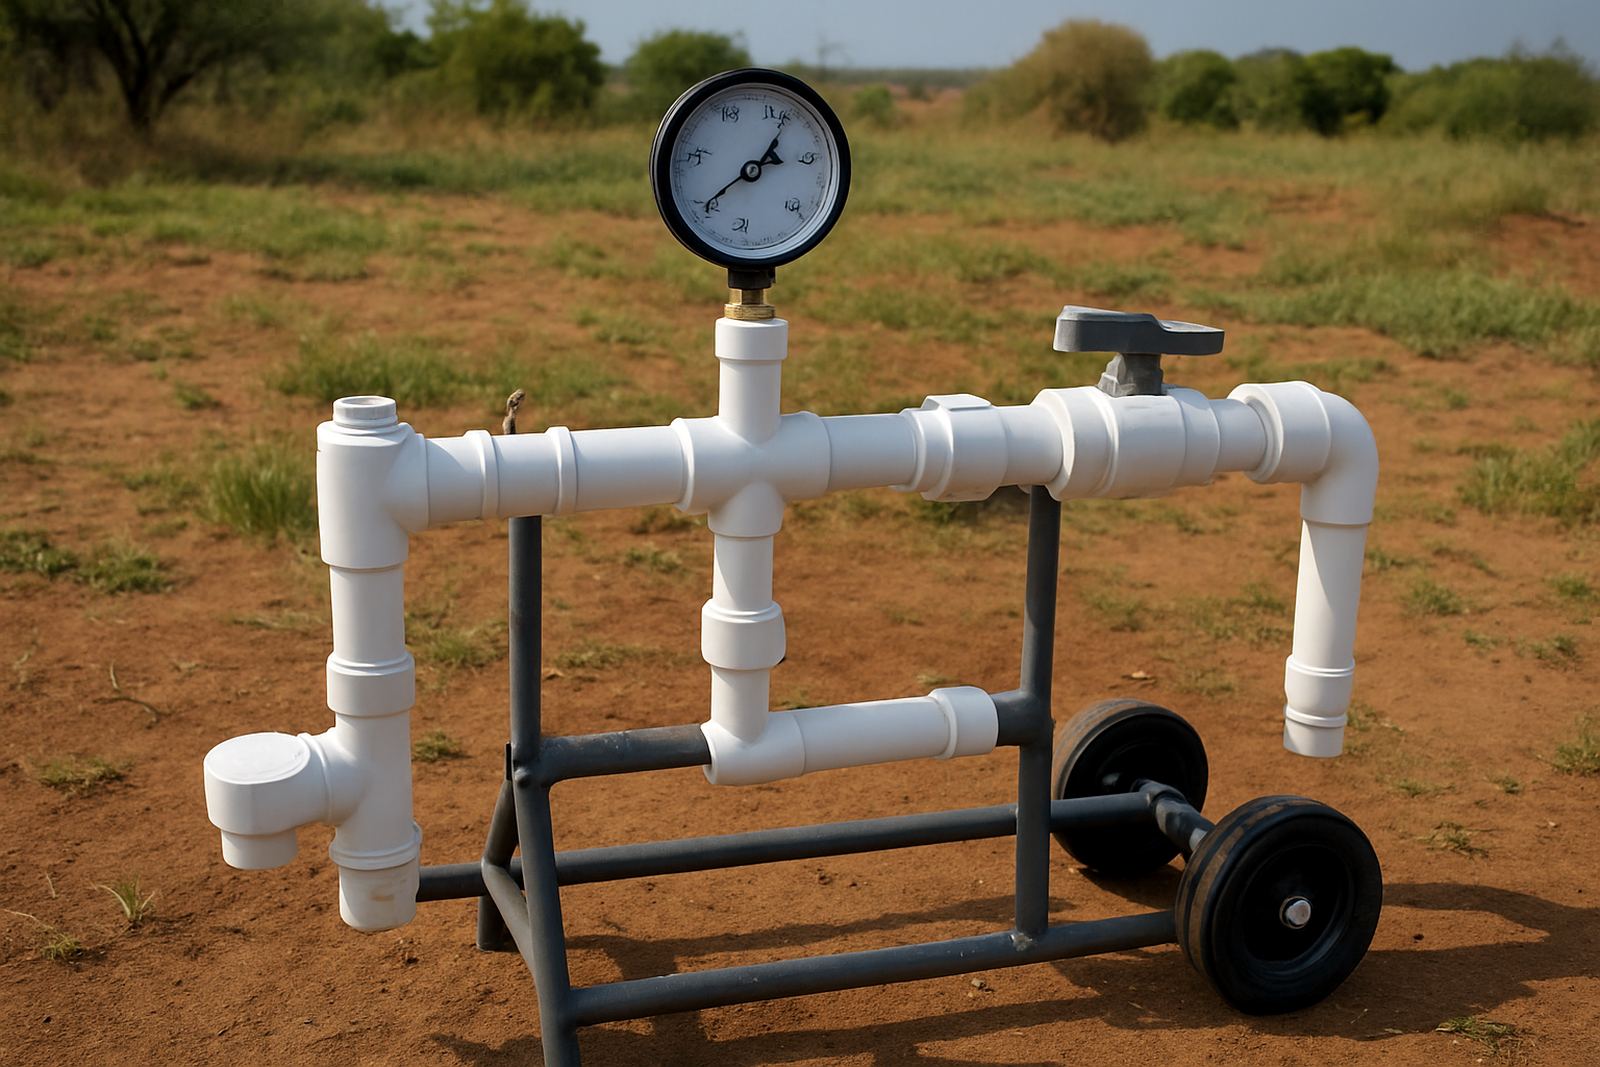
Bring the pressure up slowly and watch the gauge
Increase pressure in stages rather than opening the supply fully at once. A slow rise gives the fittings time to settle and lets you catch small leaks before they become bigger. Keep an eye on the gauge while the line fills. If the pressure jumps around, there may be air trapped in the line or a problem with the supply. Air pockets can give false readings and make a sound system look faulty.
Once the test pressure is reached, hold it for a set period. For short runs, a steady observation period may be enough to show whether the line is stable. For longer lines or contractor handover work, allow more time and record the reading at the start and finish. If the pressure drops, do not guess. Walk the line, check each joint and watch for drips at fittings, valves and end caps. Small leaks often show up as damp soil, not a visible spray.
It helps to have one person at the gauge and another walking the line. On longer farm installs, this saves time and avoids missing a faint seep near a clamp or joint. If the line holds pressure but a few joints are damp, mark them clearly and retest after rectifying the issue.
Look for the common fault points
Most new-line problems show up at the same places. Joints that were not cleaned properly, cut ends that were not square and fittings that were forced together can all give trouble. So can pipes that were twisted during installation, or lines that were pulled tight over a trench edge or a sharp stone. In hot sun a pipe can move a little as it warms up, and that movement may open a weak joint.
Pay close attention to valve connections, reducers, couplers and any transition points where pipe size changes. Also check support points on long above-ground runs. If the pipe is vibrating or hanging under its own weight, it may pull on the fittings and create a leak later. On exposed installations, UV and heat can add stress over time, so good support matters just as much as the fitting itself.
- Valve bodies and threaded adapters
- Reducers and changes in pipe size
- Couplers near bends or long spans
- End caps and temporary blank-offs
- Any joint with visible movement or dampness
Record results before you hand the line over
Once the line holds pressure, note the test pressure, the time held and any points that were repaired. This is useful for farmers, contractors and maintenance teams because it gives a clear record of what was done and when. It also helps with repeat order planning if the same layout is used again on another block or site.
If the line is part of a larger irrigation programme, keep the notes with the zone map or handover file. Include the pipe sizes, fitting types and any parts that were replaced during the test. A small note now can save a lot of back-and-forth later, especially when the line is extended or repaired months down the line. It also helps if there is a dispute about whether a leak was present before commissioning.
- Test pressure used
- Start and finish reading
- Repairs or adjustments made
- Names of the people who carried out the check
When to stop and call for advice
If a line will not hold pressure after basic checks, stop and find the fault before putting it into service. Repeated testing on a failing joint can waste water and damage the rest of the line. If there is visible splitting, severe distortion, or a fitting that keeps slipping, replace it rather than trying to force it to work. That is especially important on pressure-fed irrigation where a small defect can become a bigger failure once the system is loaded.
For contractors and farm managers, it often pays to keep a little spare stock on hand for common replacements. Having the correct couplers, reducers, caps and solvent-weld fittings ready makes the final test quicker and reduces downtime. If you are unsure about compatibility, quantity or the best fitting for a particular run, use the enquiry form and ask for product matching, quantity checks or jointing advice. It is much better to sort the detail before water goes into the line than to chase leaks after the pump starts running.
Good testing is not complicated. It is simply careful work, done in the right order, with enough time for the system to settle.