
What belongs in a jointing tool kit
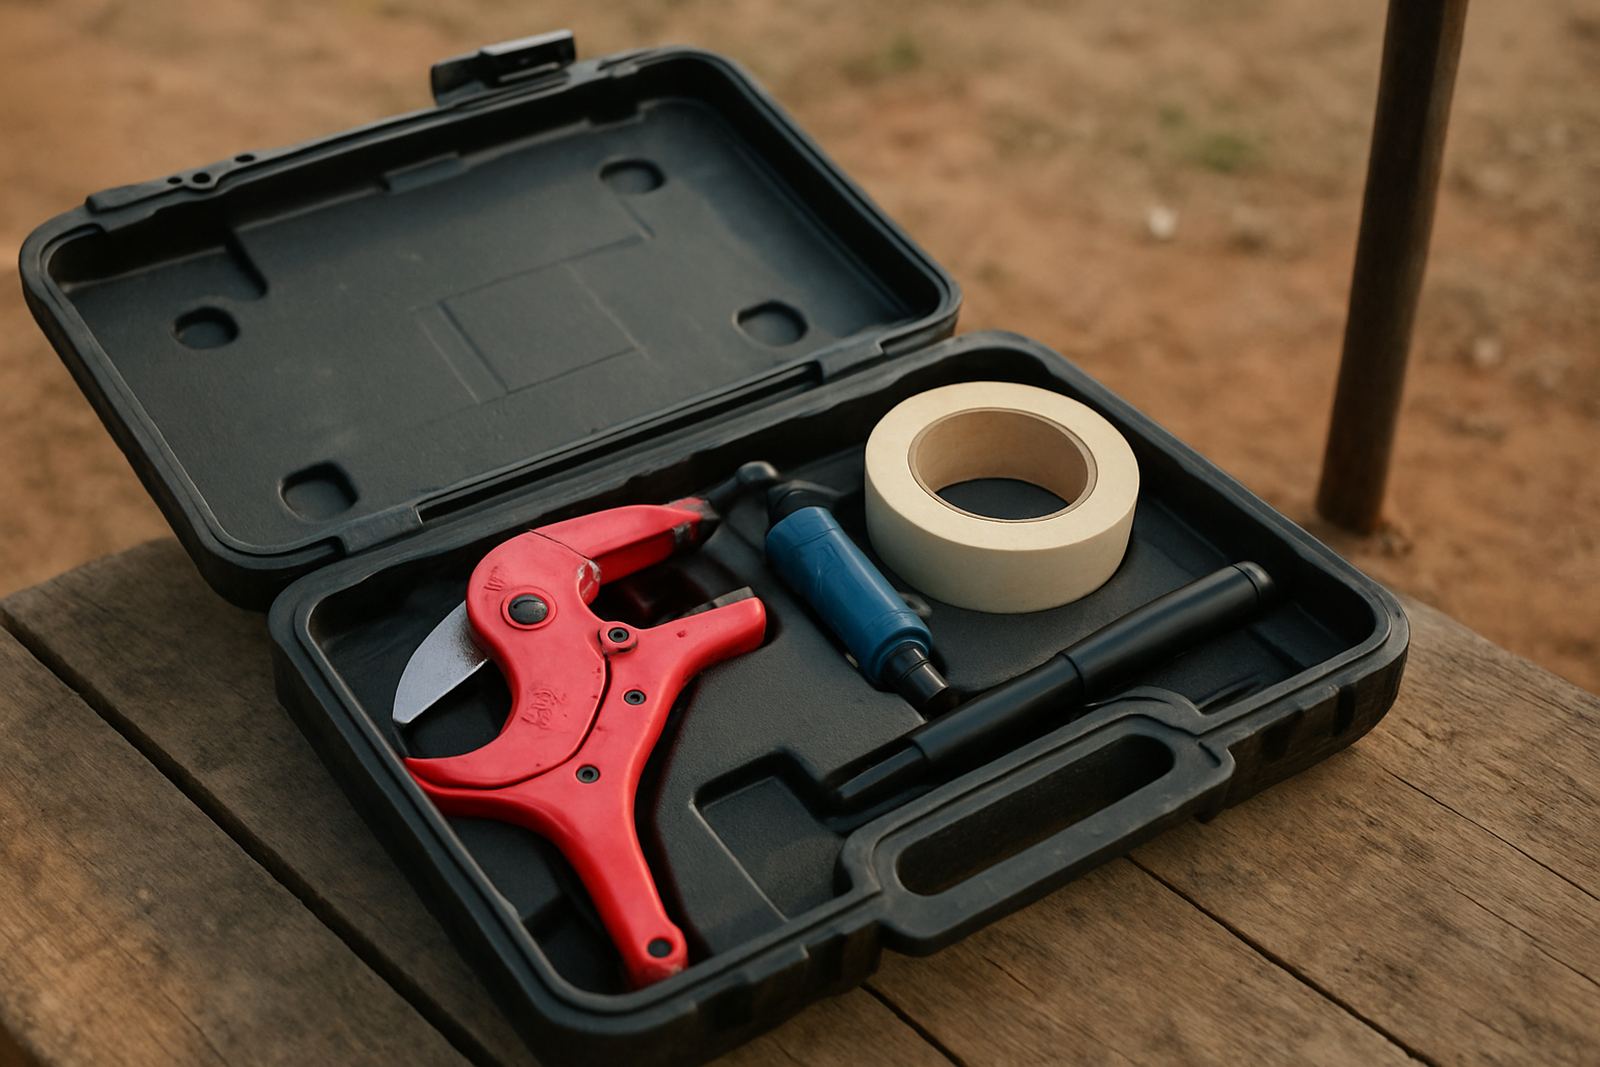
A proper jointing kit is the small set of hand tools that keeps PVC work neat and dependable. For irrigation lines, that usually means tools for measuring, cutting, deburring, cleaning and holding the pipe while you assemble the joint. If the pipe is not prepared well, the solvent weld has to work harder than it should and that is where leaks start.
For farmers, landscapers and contractors, the best kit is the one that matches the pipe size on site and the pace of the job. A kit for 20 mm and 25 mm line work on a garden install is different from what you need on a larger farm run with long lengths and more joints. In Ladanna, Polokwane and across Limpopo, dusty conditions and hot afternoons mean you need tools that are easy to carry, quick to clean and simple to keep in the bakkie without damage.
- Measuring tape or rule
- PVC pipe cutter or fine tooth saw
- Deburring tool or file
- Clean rag or lint free cloth
- Marker for cut lines
- Brush for solvent application
- Pipe cleaner or prep cloth
- Clamps or temporary supports for alignment
Cutting pipe square and keeping the end true
The first job is a clean, square cut. A crooked cut gives you uneven contact inside the socket and makes alignment harder, especially on long irrigation runs where pipe movement adds strain. Use a pipe cutter where possible for smaller sizes. For bigger diameters, a fine tooth saw works well if you keep the pipe steady and finish the edge properly.
After cutting, check the end. There should be no major burrs, no crushed edge and no rough chips that can sit inside the fitting. If the cut is out by too much, trim it again rather than trying to force a bad end to fit. That extra minute now saves time later when a line starts weeping after the pump is switched on.
- Mark the cut line clearly before you cut
- Hold the pipe steady to avoid wandering cuts
- Remove burrs on the inside and outside edge
- Check the pipe end against the fitting socket
- Do not assemble with a rough or oval end
Dry fit, marking and checking alignment
Before you apply solvent, dry fit every joint. This lets you confirm that the pipe seats properly, the fittings line up and the whole run sits in the right direction. On irrigation jobs, a small twist in one join can throw off the rest of the line and create stress at valves, elbows or tees. In hotter areas around Tzaneen and Hoedspruit, pipe can warm up quickly and move a bit more so alignment matters even more.
Use a marker to note insertion depth if the job has several repeated joints. That helps teams keep things consistent and avoids under insertion. If a fitting is tight, check the pipe end again rather than forcing it. Solvent weld joints need proper contact, not pressure from brute force.
- Test every fitting before gluing
- Mark insertion depth where needed
- Check valve and tee direction carefully
- Make sure pipe runs sit without strain
- Support longer lengths before final assembly
Cleaning and priming surfaces before solvent weld
Clean surfaces make better joints. Dust, moisture and grease can weaken the bond, and on farms and outdoor landscapes that dirt gets onto pipe very easily. Wipe the pipe end and the inside of the socket with a clean cloth until both surfaces are free of grit. In coastal areas, or on sites where fittings are stored in damp conditions, dry the parts properly before joining.
If your system and product method require a primer or cleaner, apply it as directed and allow it to do its job before the solvent cement goes on. Work in a shaded area where possible because direct sun and high heat can change working time. During load shedding, if you are using lights or working after dark, keep the area well lit so you can see the full socket and the glue line clearly.
- Remove dust and grit from both surfaces
- Keep pipe ends dry before solvent is applied
- Use the correct cleaner or primer if specified
- Work in shade where possible
- Keep rags clean so you do not spread dirt
How to use the kit on site step by step
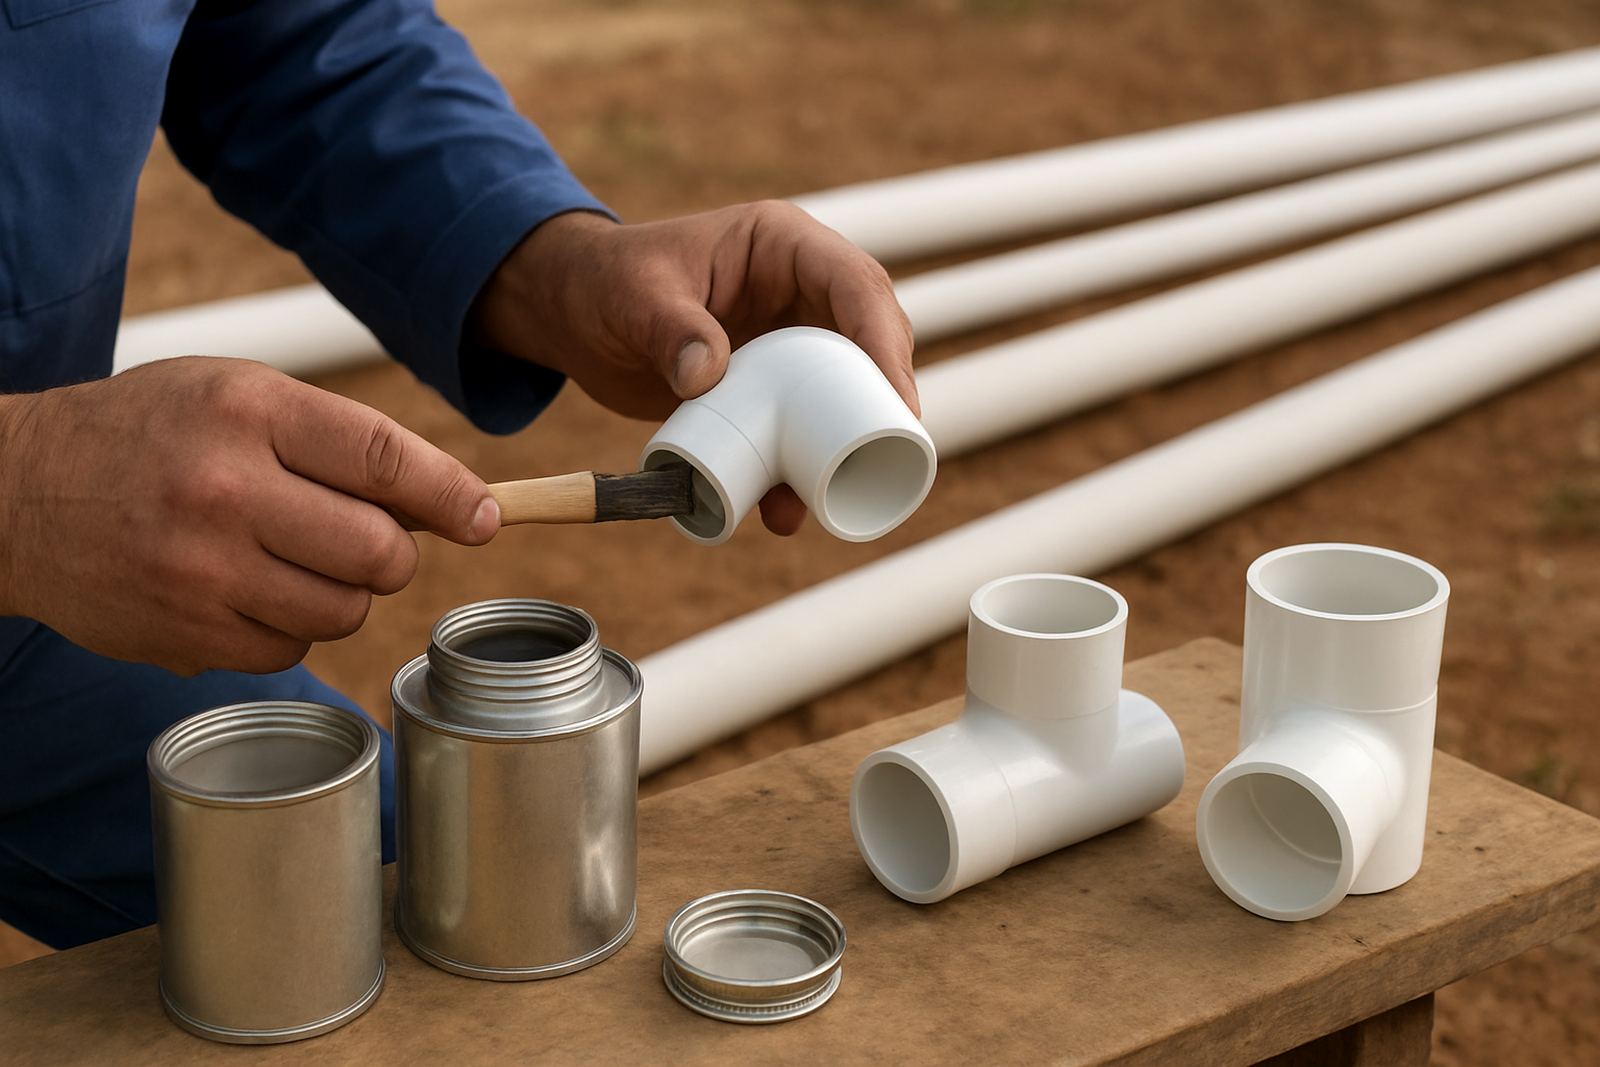
Once the pipe is prepared, work quickly and neatly. Apply solvent evenly to both the pipe and the fitting socket, then push the pipe home with a firm even motion. Give it a slight twist if the product instructions call for it, then hold the joint steady for a short time so it does not creep back out. Do not overdo the twist, as that can disturb the coating.
For larger irrigation jobs, one person can prepare and another can assemble if the team is organised. Keep fittings sorted by size and type so nobody wastes time hunting for the wrong elbow or coupler. On contractor jobs, that small bit of order keeps the whole crew moving and helps you finish before the afternoon heat gets too hard to work in.
- Apply solvent to both surfaces evenly
- Join the pipe and fitting in one smooth movement
- Hold the joint steady for a few seconds
- Wipe off excess solvent straight away
- Do not move the line until the joint has set
Care, storage and checks after the job
A jointing tool kit lasts longer when it is cleaned and stored properly. Wipe blades, cutters and measuring tools after use, then keep everything dry and packed in a way that stops them rattling around in the bakkie. On dusty sites near Polokwane or in rural deliveries across Limpopo, grit quickly dulls tools if they are left open. Moisture can also affect the condition of consumables, so keep lids tight and containers upright.
After the line is installed, do a quick pressure and visual check. Look for any sign of seepage around fresh joints, especially at elbows, tees and repaired sections. If a fitting was rushed or a pipe end was not square, that is where trouble usually shows first. A short check now is far cheaper than a call back later.
- Clean tools before packing them away
- Keep cutters sharp and blades protected
- Store solvents and prep items upright
- Check joints once the system is under pressure
- Record any fittings used for repeat orders