
1. Check the pipe, fitting and size before you start
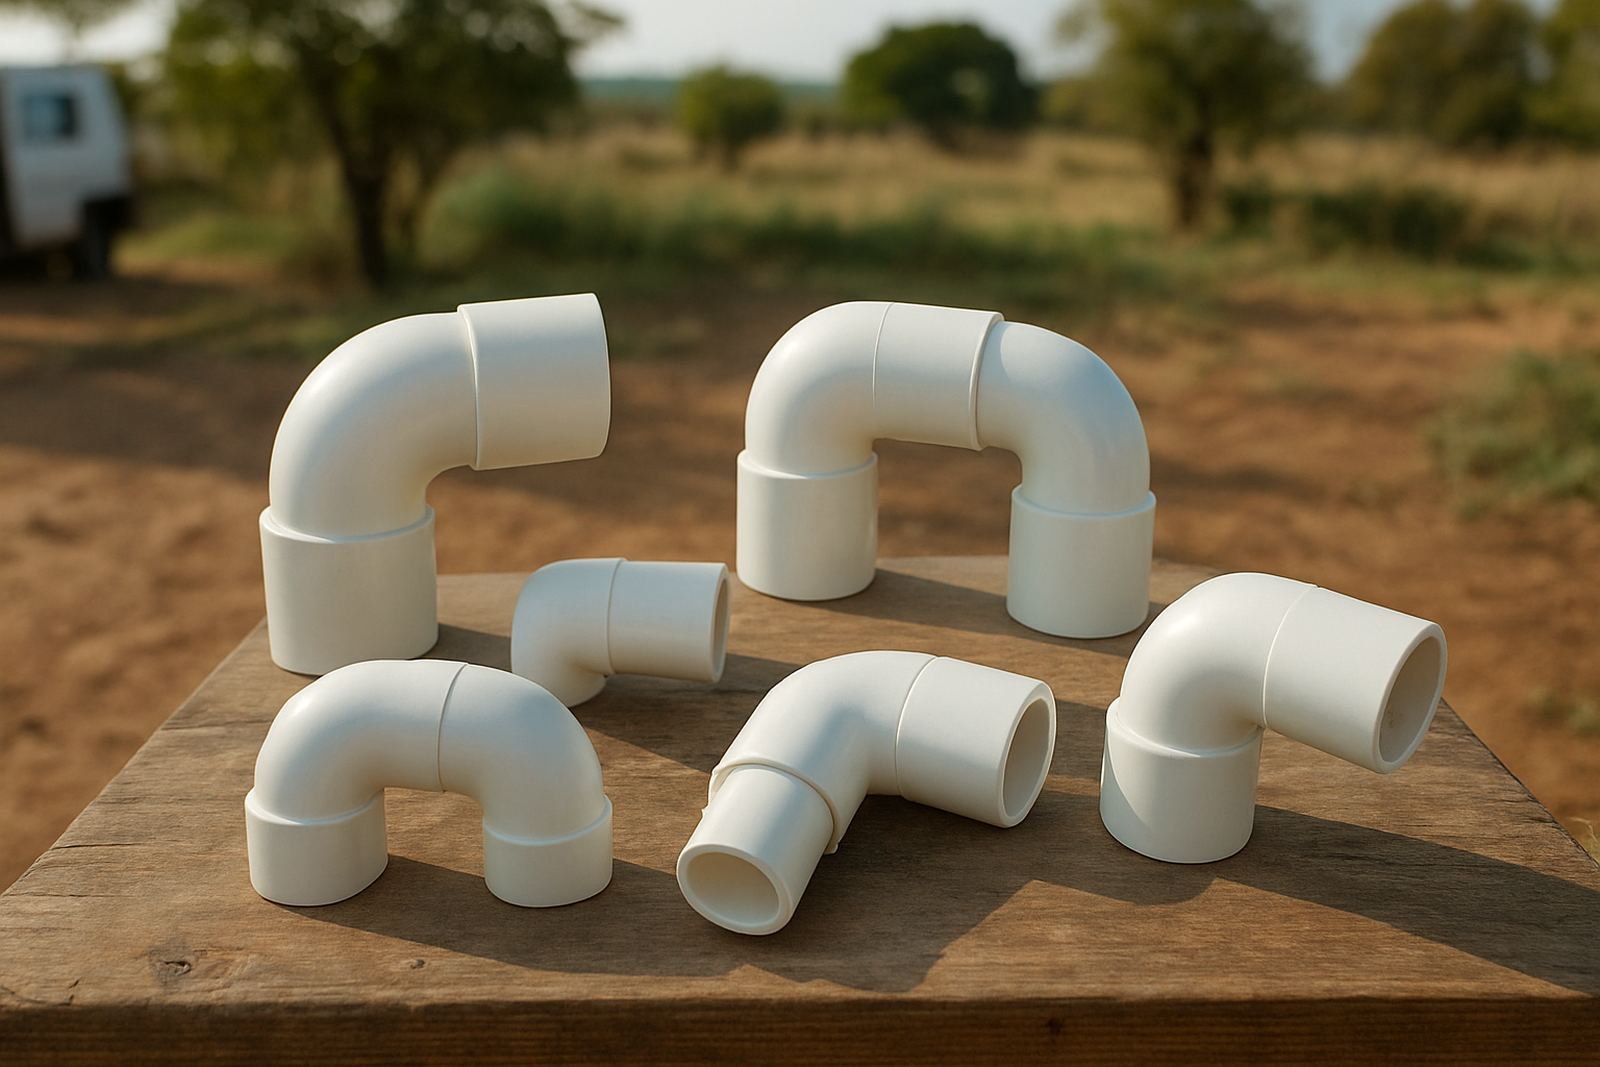
Before any cutting, confirm the pipe class, outside diameter and fitting type. Irrigation lines often mix main lines, submains and smaller branches, so it pays to match like with like. A fitting that is slightly loose or a pipe that is forced in can weaken the joint from day one.
Lay out everything in one place at the Ladanna base, on the truck or at the job site. In hot Limpopo weather, PVC can warm up fast, so keep cement and primer in the shade. If you are working near dusty farm roads or in coastal humidity on a delivery run, wipe the stock clean before you begin.
- Check pipe diameter and fitting size
- Confirm the correct solvent cement for PVC pressure irrigation work
- Inspect the socket for cracks, dirt or ovality
- Keep caps closed until needed
2. Cut square and prepare a clean working end
Use a proper pipe cutter or fine-tooth saw and aim for a square cut. An angled cut makes poor contact inside the socket and can leave one side under stress. If the pipe has been sitting in the sun, let it cool a little before solvent work, otherwise the cement can flash off too quickly.
After cutting, remove burrs inside and outside the pipe. A rough edge can scrape cement away as you push the joint together, and that can lead to seepage later. A clean, straight end is one of the easiest ways to improve the joint quality and it takes only a few seconds.
- Cut square, not on an angle
- Deburr both sides of the pipe end
- Wipe off dust, mud and moisture
- Dry fit first to confirm depth and alignment
3. Mark insertion depth and dry fit the line
Push the pipe into the fitting without cement and mark the insertion depth with a pencil or marker. That gives you a clear stop point during assembly. It also helps you see if the pipe is seating fully and if the run is straight before you commit to the bond.
For irrigation runs across fields, keep the line supported so the weight of long lengths does not pull the joint out of line. On a windy day in Polokwane or a hot afternoon near Tzaneen, movement can make a simple joint more difficult than it should be. A little planning here saves a lot of trouble later.
- Mark the pipe depth before cementing
- Check for straight alignment over the full run
- Support long lengths so they do not sag
- Confirm the fitting orientation before glueing
4. Apply primer and cement with steady hands
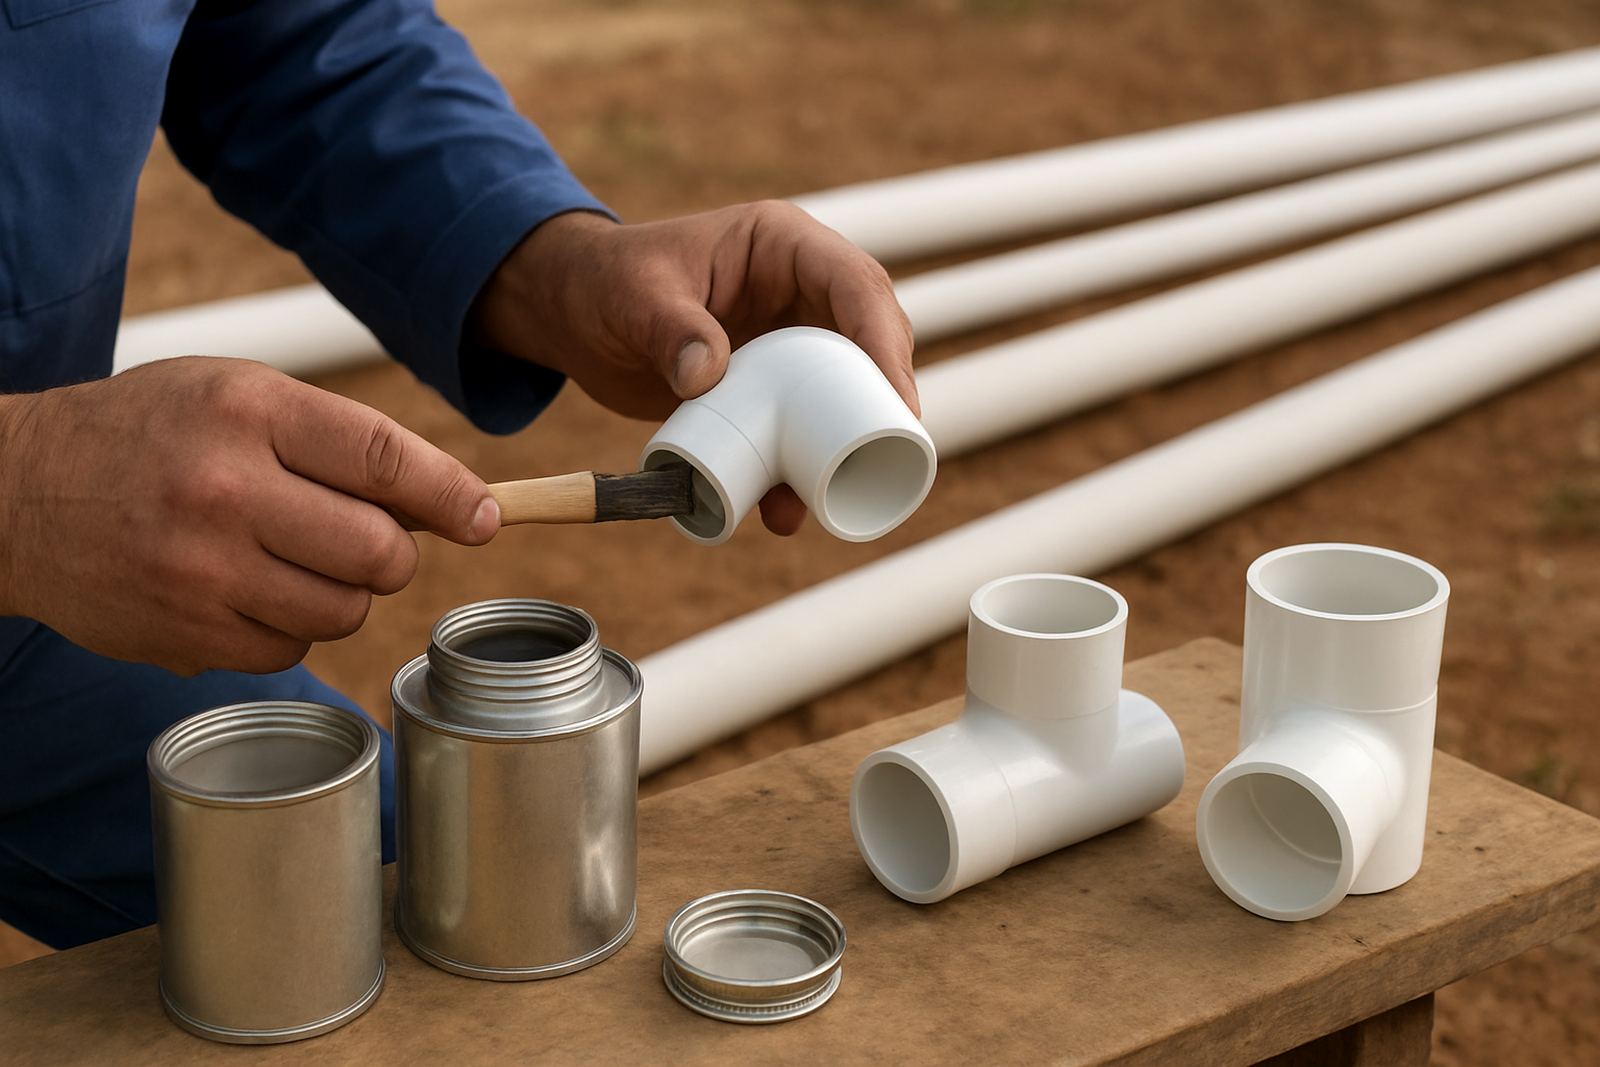
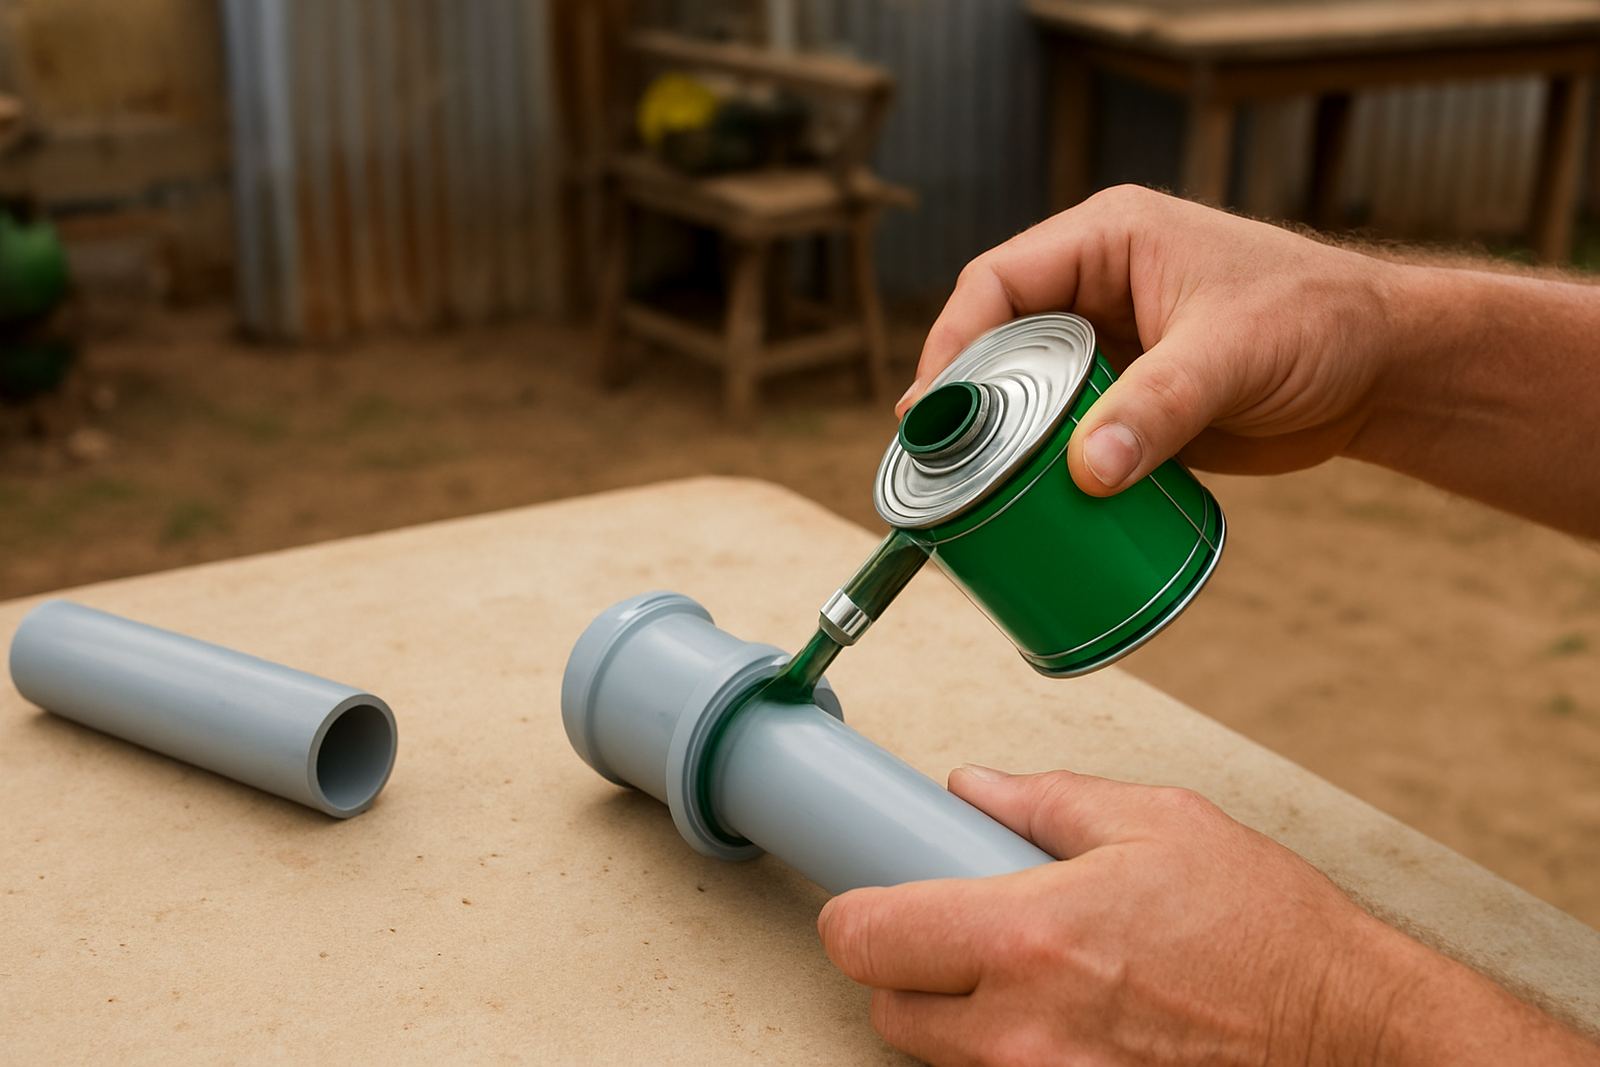
If your system calls for primer, apply it evenly to both the pipe and the socket and let it soften the surface for the required time. Then apply solvent cement to both surfaces in a smooth coat. Do not overload the joint, but make sure every part of the contact area is covered.
Work quickly once the cement is on. PVC solvent begins to set soon after contact, so delay can weaken the bond. On site, especially during load-shedding or when you are working from a generator, keep your tools ready before opening the tin. That way you are not rushing through the bond while the clock is already ticking.
- Use a clean applicator brush or dauber
- Coat both surfaces evenly
- Do not let dirt fall into the open tin
- Keep the lid closed between joints
5. Join, twist and hold without disturbing the set
Insert the pipe fully into the socket with a firm push and give it a quarter turn if the product instructions allow it. That helps spread the cement evenly. Hold the joint steady for a few seconds so it does not push back out as the cement starts to grab.
Wipe away excess cement around the outside of the fitting, but do not wipe so hard that you pull cement out of the joint line. Make sure the fitting stays in the correct position, especially on elbows, tees and valves where direction matters. Once the joint is set, avoid moving it. The pipe may look ready, but it still needs time to cure properly.
- Push fully home to the depth mark
- Hold the joint steady after insertion
- Wipe excess cement gently
- Do not twist or realign once the set has started
6. Cure properly, test carefully and keep a record
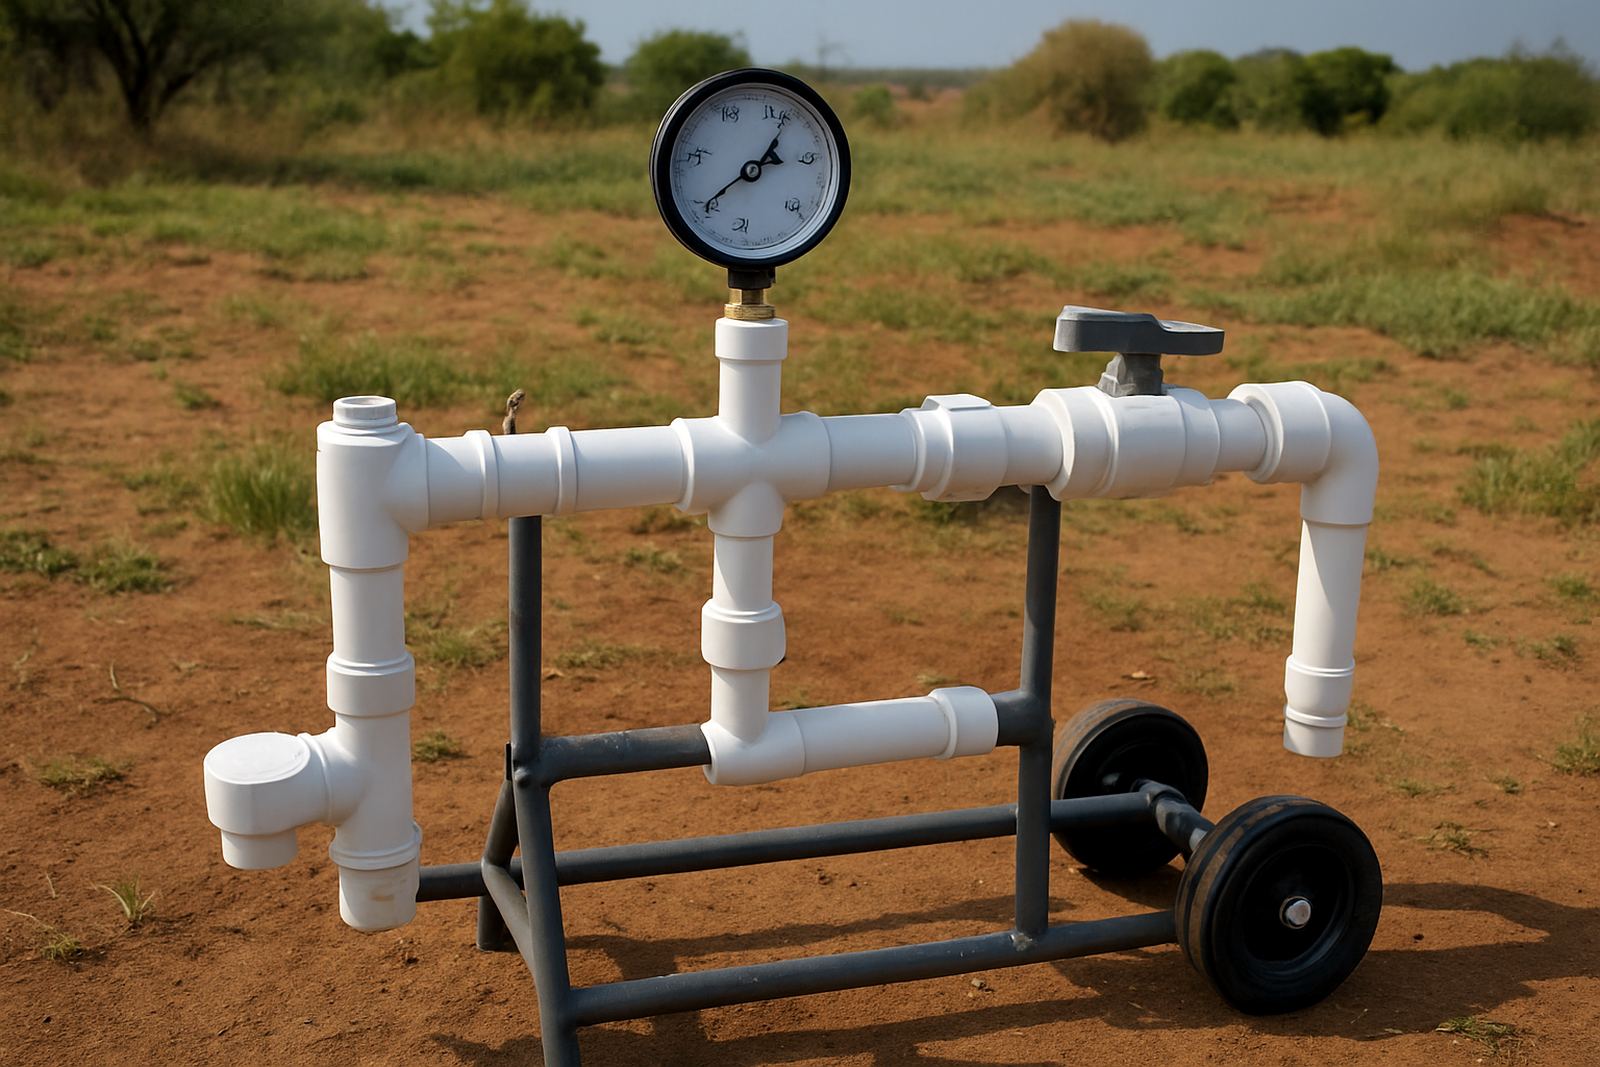
Allow enough curing time before pressurising the line. In warm dry conditions joints may set faster, but temperature, pipe size and humidity all affect the final cure. For larger irrigation runs, leave extra time before switching on pumps or opening valves under full pressure. A joint that has not cured can look fine and still fail under load.
When testing, bring the system up slowly and watch each joint for weeping or movement. Check around fittings after a few minutes, then again once the line has settled. If you are managing farm stock or contractor orders across Limpopo, keep a note of sizes used and any problem spots for future repairs. That small record makes repeat work much easier and one or two missing notes can cost time later.
- Respect cure time before pressure testing
- Start the system slowly
- Inspect every joint for seepage
- Note pipe size, fittings used and any repairs needed