Why cleaner and primer are part of a proper joint
For irrigation work, the cleaner removes dust, grease, mould release, soil, and the fine film that sits on pipe after cutting. Primer then softens the mating surfaces so the solvent cement can fuse the pipe and fitting into one joint. If you skip either step, the joint may still look fine at first, but it can leak later when the line is under pressure or when temperature changes open the joint a little.
In Polokwane, Tzaneen, Hoedspruit and other parts of Limpopo, irrigation lines often sit in heat, dust and wet soil for long periods. That means every joint needs a clean surface and correct preparation. On farms and landscaping sites, the cost of a bad joint is not just the fitting, it is lost water, time, and the trouble of digging up a line again.
Cleaner and primer are also useful when stock has been handled often, or when pipe ends have been sitting in a trailer or shed. A quick wipe is not always enough. Proper prep helps the cement do its job and gives you a more reliable result, especially on larger runs where pressure variation is common.
Before you start: check the pipe, fitting and conditions
Before opening the cans, check that the pipe and fittings match the same size and pressure class. Dry-fit the parts first so you can see the insertion depth and confirm that the pipe cuts square. If the pipe end is crushed, oval, or burred, fix that first. A rough cut can stop the pipe from seating fully and that weakens the joint.
It also helps to look at the working conditions. In strong sun, solvent products can flash off too quickly. In cold mornings or high humidity near the coast, curing can take longer. If the line is being installed on a dusty site or near loose soil, keep the ends covered until you are ready to bond them. One missed grain of sand can spoil the seal.
- Confirm pipe size, fitting size and pressure rating.
- Cut the pipe square and remove burrs inside and outside.
- Dry-fit the joint and mark insertion depth.
- Keep the area clean and dry before solvent work begins.
How to use cleaner and primer the right way
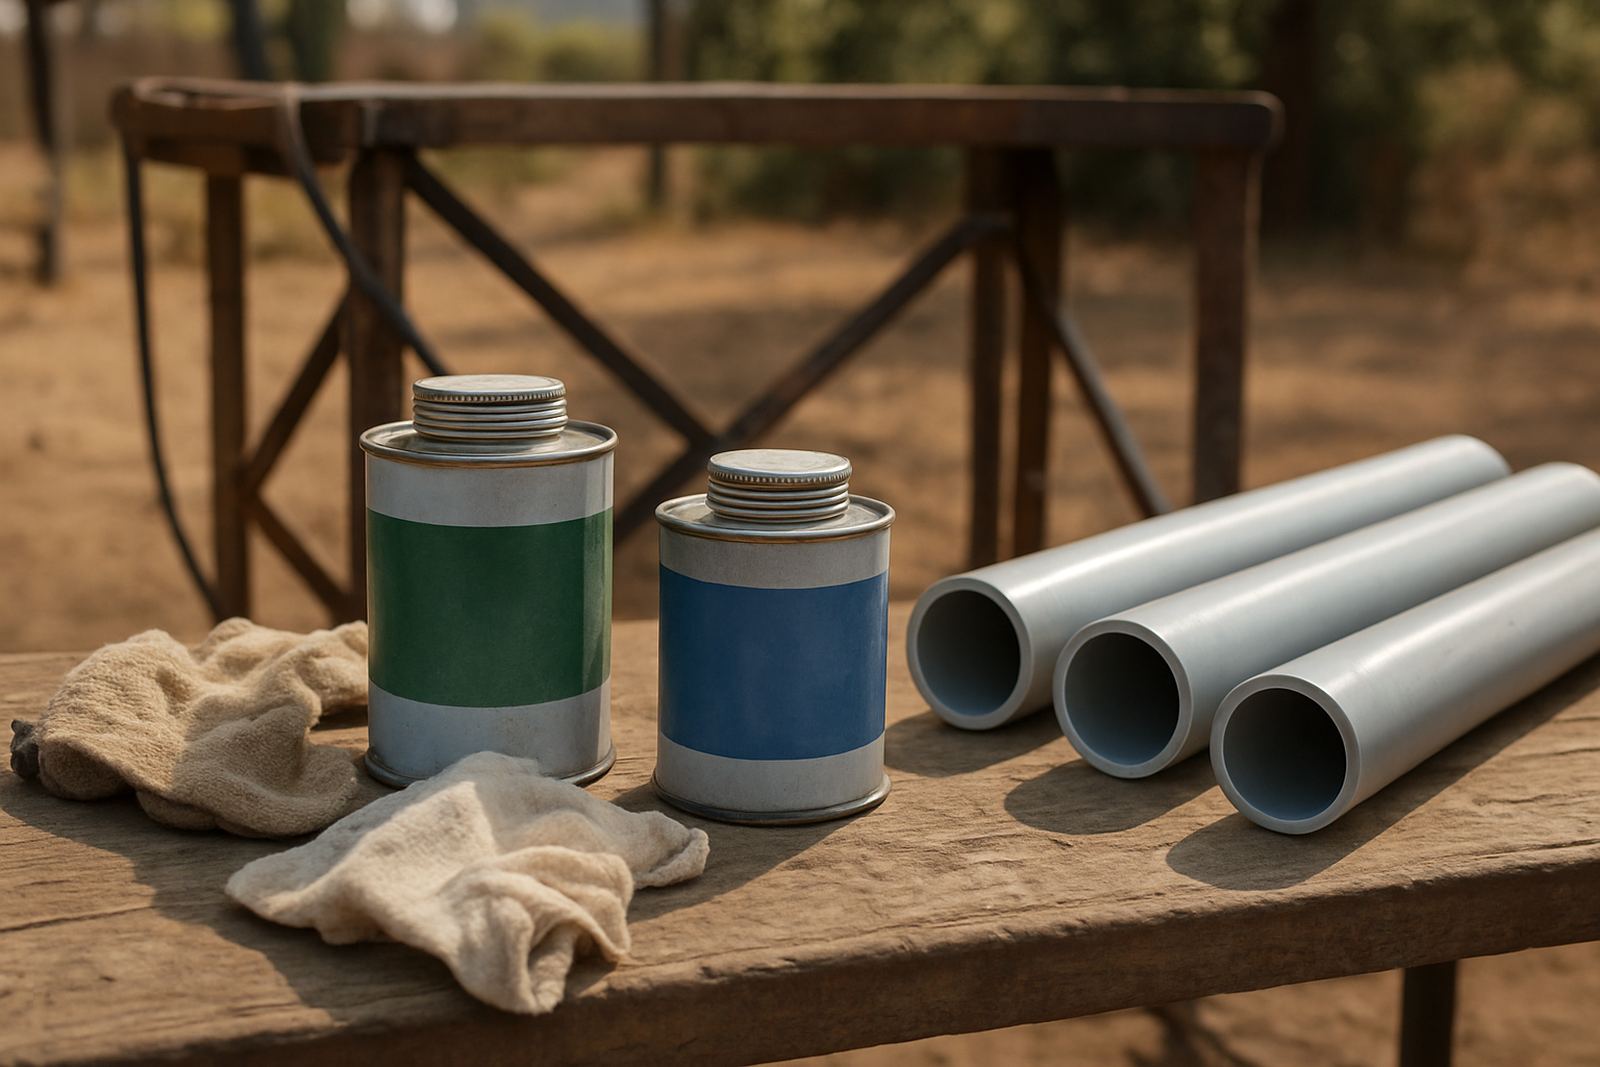
Start by wiping the outside of the pipe and the inside of the fitting with the cleaner, using a clean cloth or applicator. The aim is to remove visible dirt and any hidden film, not to flood the part. Let the surface dry briefly if the product needs it. Then apply primer evenly to the pipe end and the fitting socket. Cover the full area that will be joined, including slightly beyond the insertion mark.
Do not rush straight from primer to cement if the product instructions call for a short wait, but do not leave it open for too long either. The surface should still be fresh when you apply the cement. Keep the tin lids closed between uses, because dust can get into the product very quickly on a farm or building site.
When the joint is ready, apply cement to both surfaces, push the pipe fully into the fitting with a quarter turn if that is part of your normal method, and hold it steady for a few seconds. Wipe off excess cement on the outside before it skins over. That neat finish makes inspection easier and it also shows that the joint was made carefully.
- Use a clean applicator or cloth each time.
- Cover both the pipe and the socket evenly.
- Work within the product open time.
- Seat the pipe fully and hold it still briefly.
Common mistakes that cause weak or leaking joints
The most common mistake is using too little cleaner or primer. Another is applying it only to the pipe and forgetting the fitting socket. Some people also over-apply cement and think more is better, but excess product can pool inside the joint and reduce the quality of the bond. That can become a problem on irrigation systems where water flow needs to stay clear.
Do not fit a joint that is wet with rain, standing water, or heavy condensation. Moisture can affect the solvent action and may leave you with a joint that seems fine at first but fails later. On installation days in the Lowveld or near humid areas, it is worth giving the pipe an extra wipe and waiting a bit longer before bonding.
Another mistake is moving the joint too soon. Once the pipe is seated, leave it alone for the recommended curing time. If the line is pressurised too early, the joint can slip or show a slow seep. Contractors who work with repeated farm orders usually build in curing time before testing, because it saves call-backs and extra labour.
A simple jobsite checklist for irrigation crews
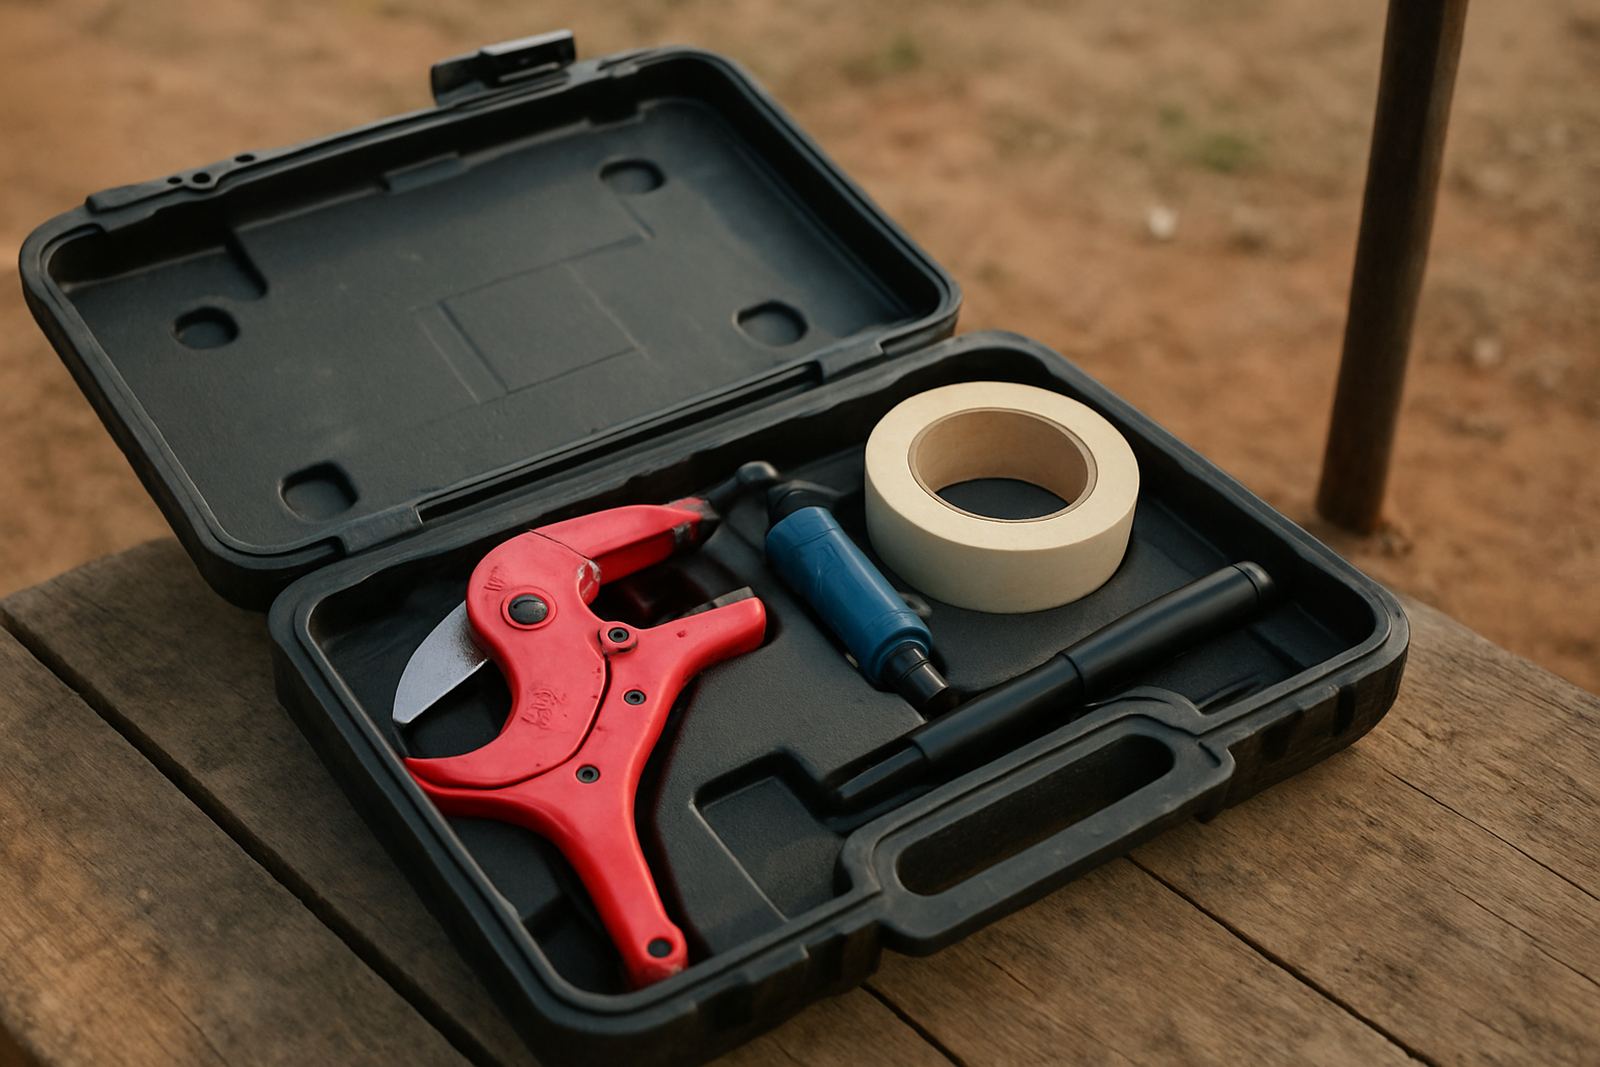
Keep a small prep kit in the truck so you are not searching for cloths, markers, or caps while the pipe is already cut. On larger jobs, one person can prep fittings while another measures and cuts pipe. That keeps the work moving and helps prevent dust settling on prepared ends. For repeat orders and farm runs across Limpopo, this kind of routine saves time and keeps the same standard from one section to the next.
- Pipe cutter or fine saw
- Deburring tool or clean knife
- Cleaner and primer
- Solvent cement
- Clean cloths or applicators
- Permanent marker for insertion depth
- Gloves and eye protection
It is also wise to keep joints out of direct traffic until they have cured. A boot, wheelbarrow or trailer tyre can twist a fresh fitting before it has set properly. Where possible, test the line only after the full cure time has passed, especially on larger diameters or in cooler weather.
When to ask for product advice or quantity checks
If you are unsure which cleaner, primer or cement suits a particular pipe size or irrigation layout, it is better to check before starting. The wrong combination can cost you fittings, time and water. That is especially true when you are planning for a farm, a contractor job, or a line that must be stocked, reserved and delivered to a remote site in time for installation.
PVC Welders supports clients with product selection, system matching, quantity checks and jointing advice, so you can order the right items for the job and avoid shortfalls. If the line will be installed in dusty conditions, coastal humidity, or a hot open field, that context matters. A small adjustment in the prep method can make a big difference to the finished system.
For irrigation work across Ladanna, Polokwane, Mokopane, Tzaneen, Hoedspruit, Lephalale, Thohoyandou and nationwide courier areas, the best results still come from careful prep, neat assembly and enough curing time. It is basic work, but it pays off every time.