
Spot the damage before you dig
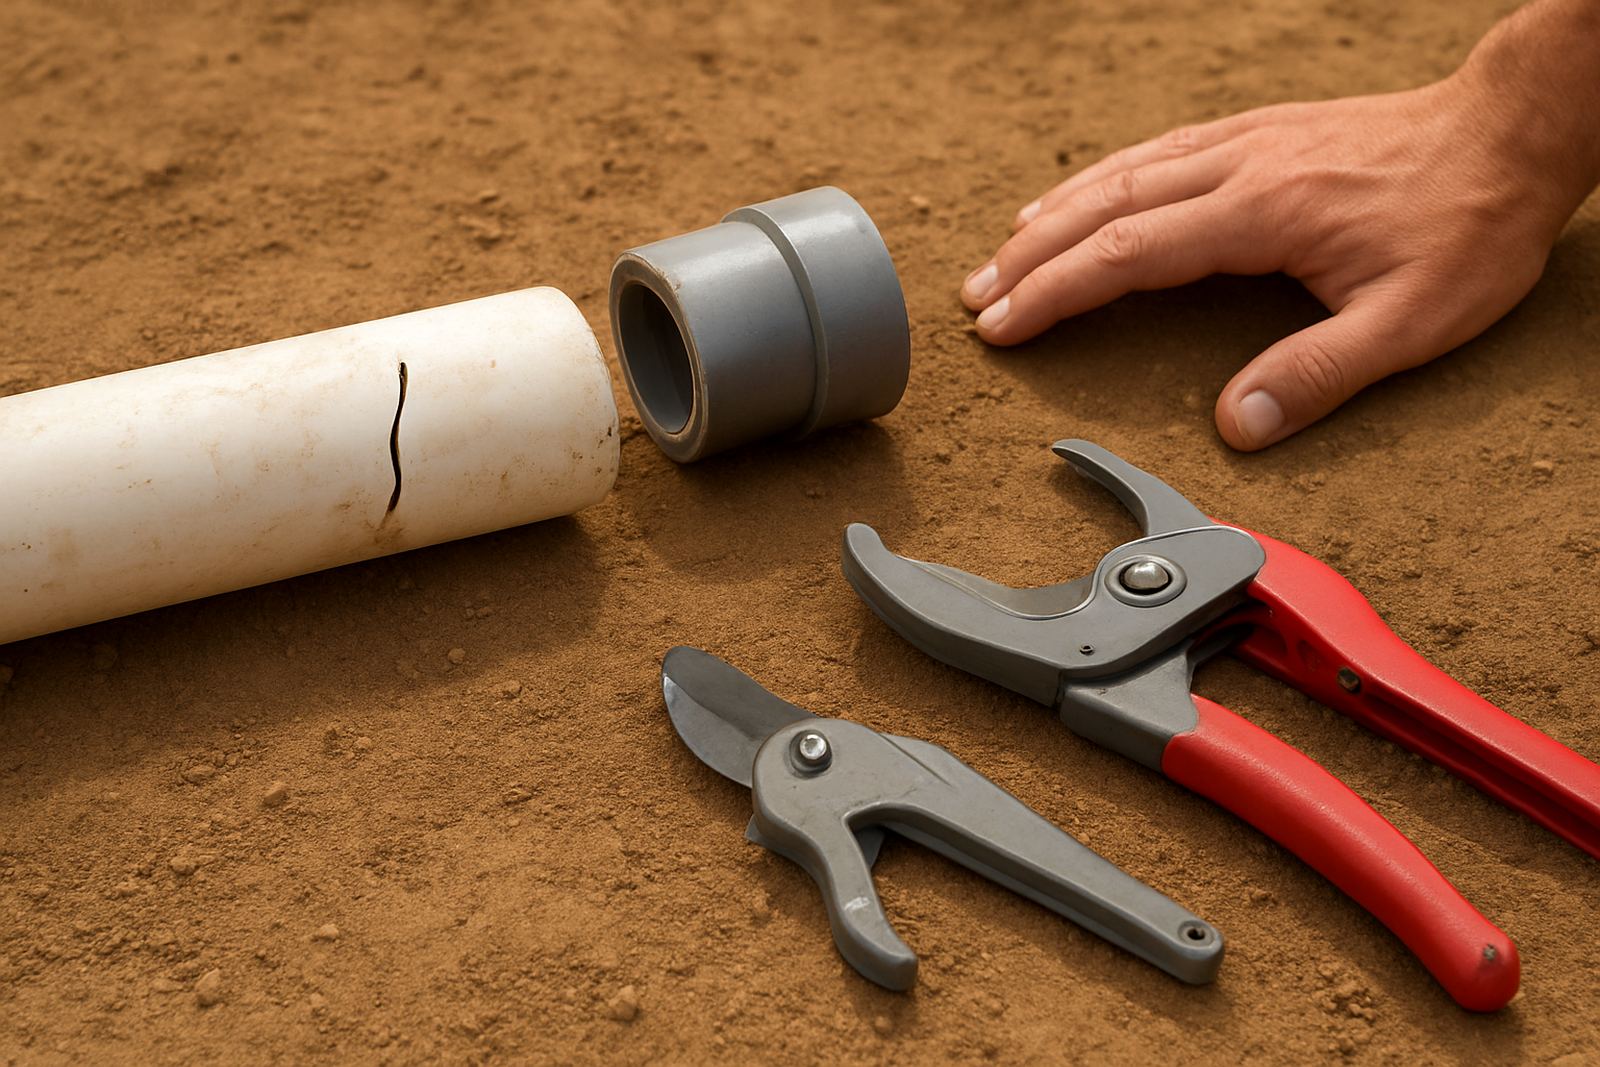
When a pipe starts leaking, the first job is to work out whether the fault is a clean split, a cracked joint, a puncture from digging, or a pipe that has pulled apart under pressure. Walk the line with the pump off and look for wet patches, soft ground, hissing at a joint, or a section that is visibly bowed. On many farms around Polokwane and the outlying areas, a leak is often caused by sun exposure, vehicle movement, or a hard knock from tools and implements.
Before you cut anything, mark the damaged area and check how much pipe is needed for a proper repair. If the pipe has been repaired before, look closely at the material around the old joint. Sometimes the pipe body is still sound but the fitting has failed, which means the replacement should cover both ends of the weakened section.
- Switch off the pump and close the nearest valves.
- Release pressure from the line before opening it.
- Clear soil, stones and roots from the area.
- Measure the damaged section and the space needed for couplings.
Isolate the line so the repair stays controlled
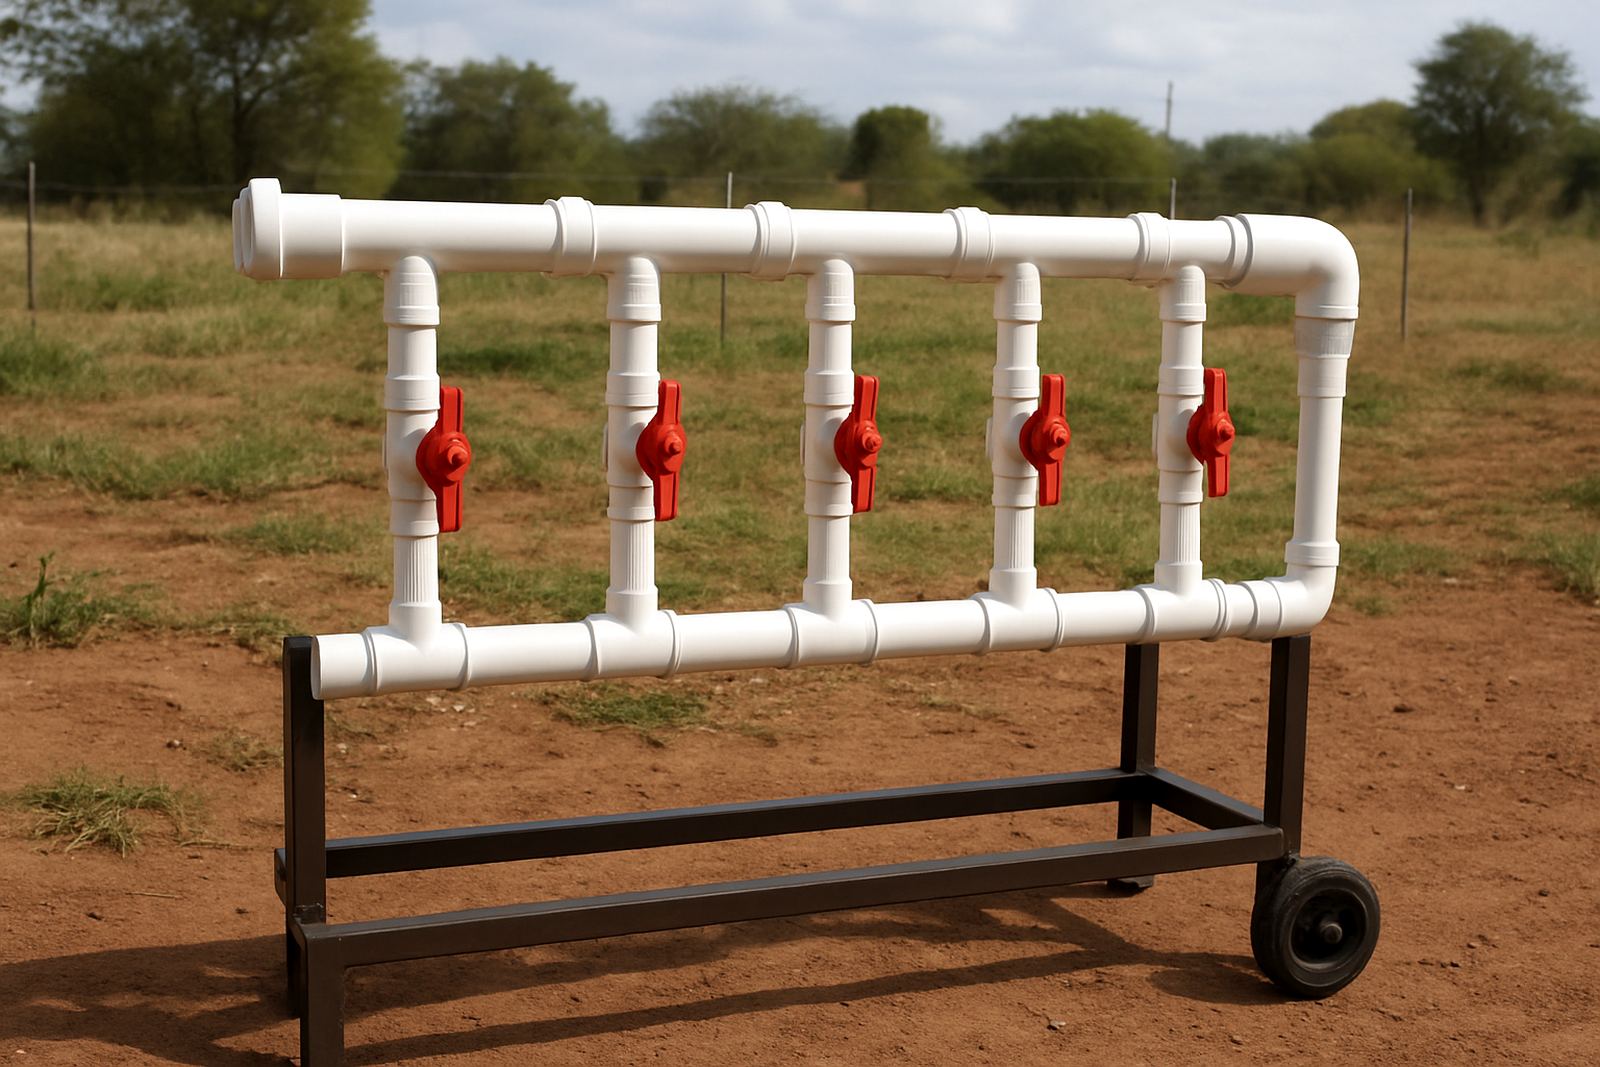
Never start cutting a live line. Even a small diameter irrigation pipe can move under pressure and spray water hard enough to turn a simple job into a messy one. If the system has multiple zones, isolate the affected run only, then drain it fully. For larger farm layouts this can save a lot of time, because the rest of the block can stay ready for use while one section is under repair.
In windy, dusty parts of Limpopo, it helps to cover open ends as soon as they are exposed so grit does not get inside the line. If dirt enters the pipe, it can clog drippers, nozzles or smaller fittings later. Keep a bucket, clean rag and a spare cap nearby so the line stays tidy while you work.
- Use the nearest shut off point, not only the main supply.
- Drain the pipe before cutting out the damaged part.
- Keep replacement fittings, solvent and tools within reach.
- Protect open pipe ends from dust and ants.
Cut out the failed section cleanly
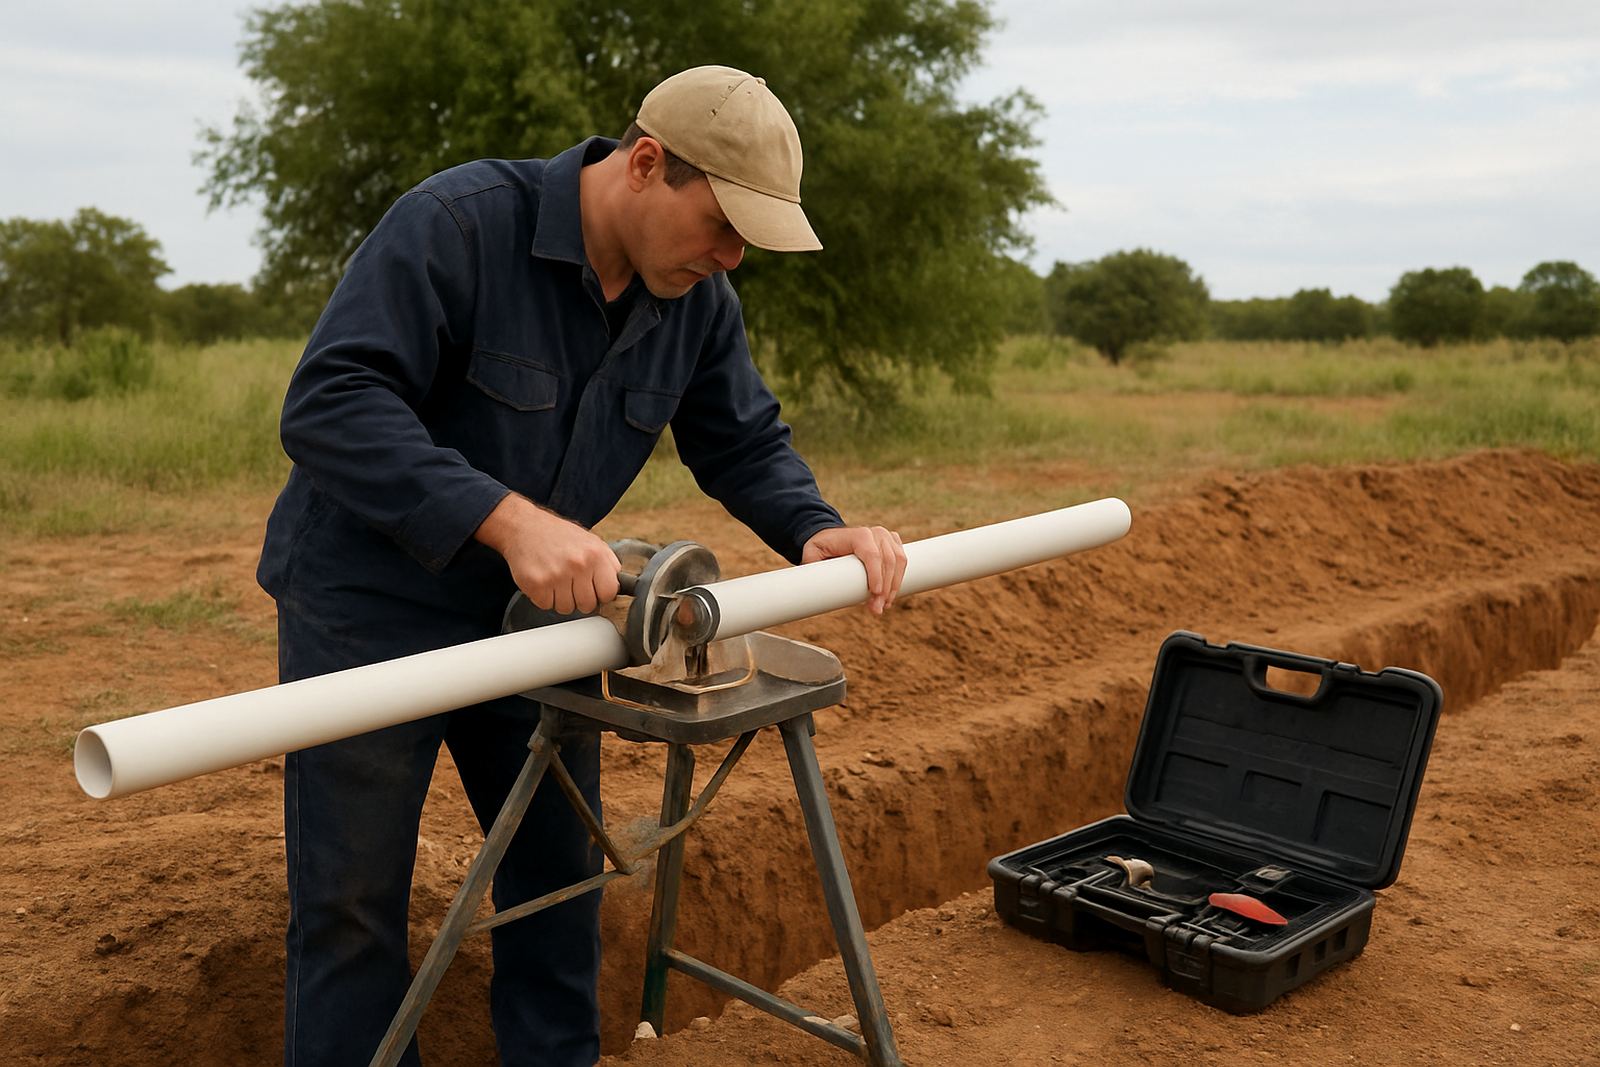
Once the pipe is empty, cut out the damaged section with a sharp pipe cutter or a fine toothed saw. A square cut matters because a crooked end makes the joint weaker and can cause a slow leak. Remove enough of the damaged area to leave clean pipe on both sides, not just the visible crack. If the pipe has softened in the sun or become brittle, extend the cut until the material is firm again.
After cutting, deburr the ends and wipe away any moisture, mud or grease. Solvent weld fittings need a clean mating surface to bond properly. If the pipe was buried, check for uneven ground or movement that may have caused the failure in the first place. Otherwise the same spot may fail again later, which is a waste of labour and material.
For contractors and farmers handling many repairs in one day, it helps to keep pipe offcuts sorted by diameter. That way you can match the right size without guessing and avoid a second trip to the yard.
Choose the right fitting for the replacement
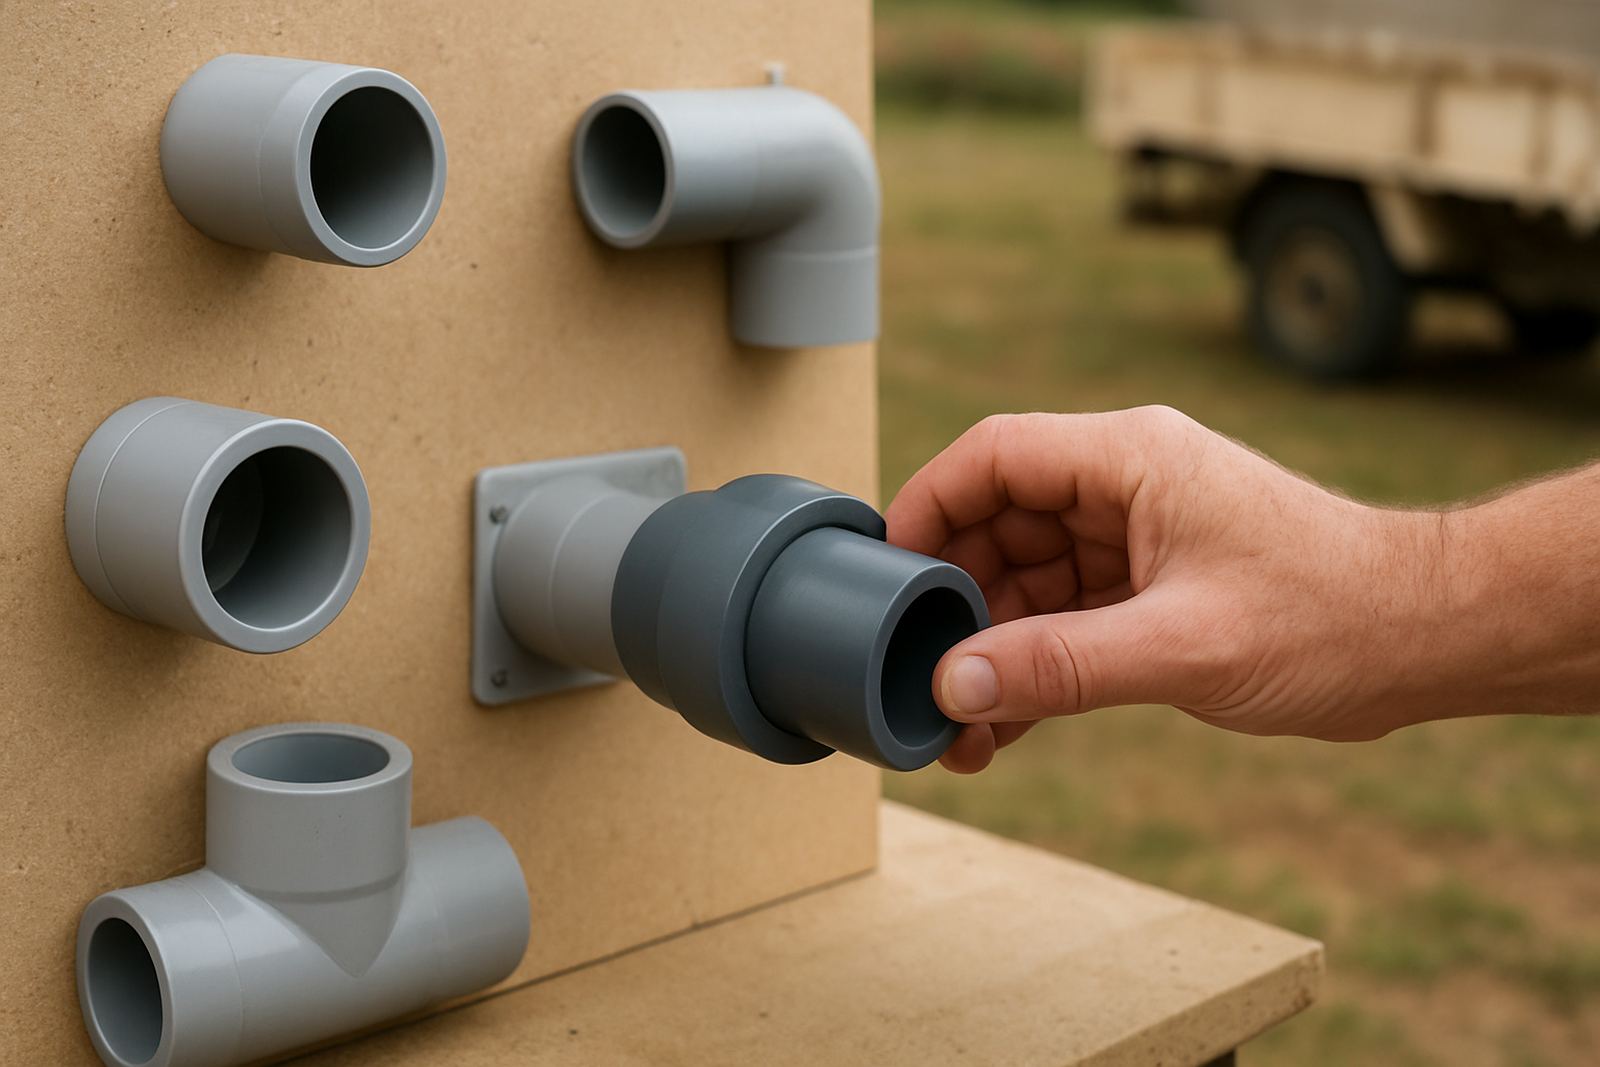
The replacement should suit the pipe size, wall thickness and working pressure of the system. In irrigation work, a joint that looks close enough is not good enough. A mismatch can leak, slip under load, or create a weak point that shows up only after the line is pressurised again. This is where proper product matching saves time and frustration.
For a standard repair, a straight coupler may be enough. If the pipe is under strain or there is limited movement, a repair coupling with a little more tolerance can make the job easier. In some systems, you may also need elbows, tees or threaded adapters depending on how the line is laid out. When in doubt, check the diameter carefully and count the fittings before you leave the yard.
- Match pipe diameter exactly.
- Check that the fitting suits the pressure rating of the line.
- Use solvent designed for PVC pipe joints.
- Keep spare couplings for site repairs and future call backs.
Solvent weld it properly the first time
Apply primer and solvent according to the fitting type and the pipe size. The joint should be assembled promptly after the solvent is applied, with a firm push and a short hold so it does not spring back. Wipe off any excess at the outside edge, but do not disturb the joint too soon. A rushed repair often fails because the parts were not aligned before the bond started to set.
Follow the curing time recommended for the size of pipe and the local temperature. In hotter parts of Limpopo, the solvent can flash off faster, while coastal humidity elsewhere can slow the set time a little. Either way, do not pressurise the line too early. Waiting a bit longer is cheaper than repeating the repair after the joint pops loose. If the system is being used on a working farm, plan the repair around the irrigation schedule so the line has time to cure fully.
Test the line and check the rest of the system
After the joint has cured, bring the pressure up slowly and inspect the repair first. Watch for seepage at the joint, movement in the pipe, or a sudden drop in pressure that may point to another fault along the line. If the repair holds, walk the nearby section to make sure the pressure distribution still looks right. A damaged pipe can sometimes hide a second weak point nearby, especially where the line bends or passes over rough ground.
It is also worth checking filters, drippers and end caps after any pipe failure. Loose debris can travel down the line and cause smaller blockages later. On larger farm systems, a quick final check can save an extra callout the next day.
- Pressurise slowly and inspect the repaired joint first.
- Look for any new leaks at bends, tees and valves.
- Flush the line if dirt may have entered during the repair.
- Record the repair location for future maintenance.
A practical Limpopo example from the field
A tomato grower outside Polokwane called in after a section of irrigation pipe split near a wheel track. The line had been carrying water for the morning block, and the break showed up as a wet patch with a steady drop in pressure. The repair team isolated the zone, drained the line, cut out the damaged section and replaced it with the correct diameter coupling and pipe length. Because the repair was done cleanly and allowed to cure properly, the block was back in service without dragging the rest of the farm into downtime.
That kind of job shows why the small details matter. Proper measurement, the right fittings, careful jointing and a full pressure test all help a repair last. Whether the line is in Ladanna, Mokopane, Tzaneen or farther out on a commercial farm, the same principle applies: isolate it, replace it neatly and test it before you walk away. It saves water, saves labour and keeps the irrigation schedule on track, which is what everyone needs when the weather turns dry.