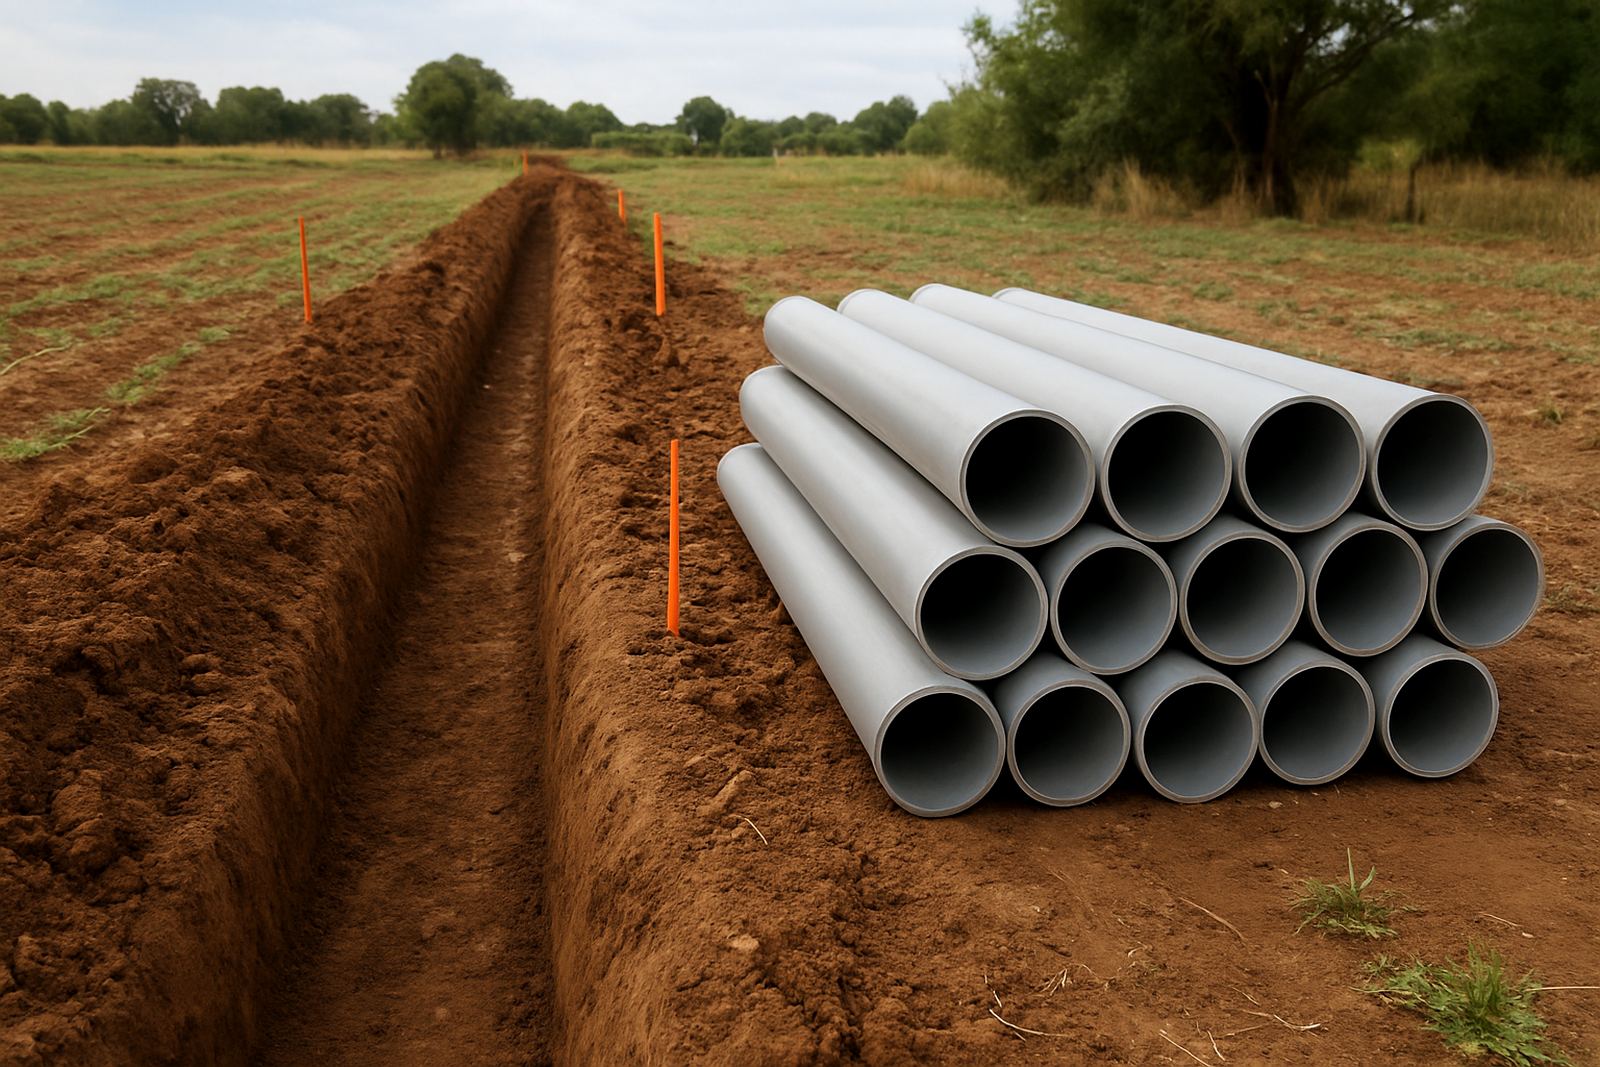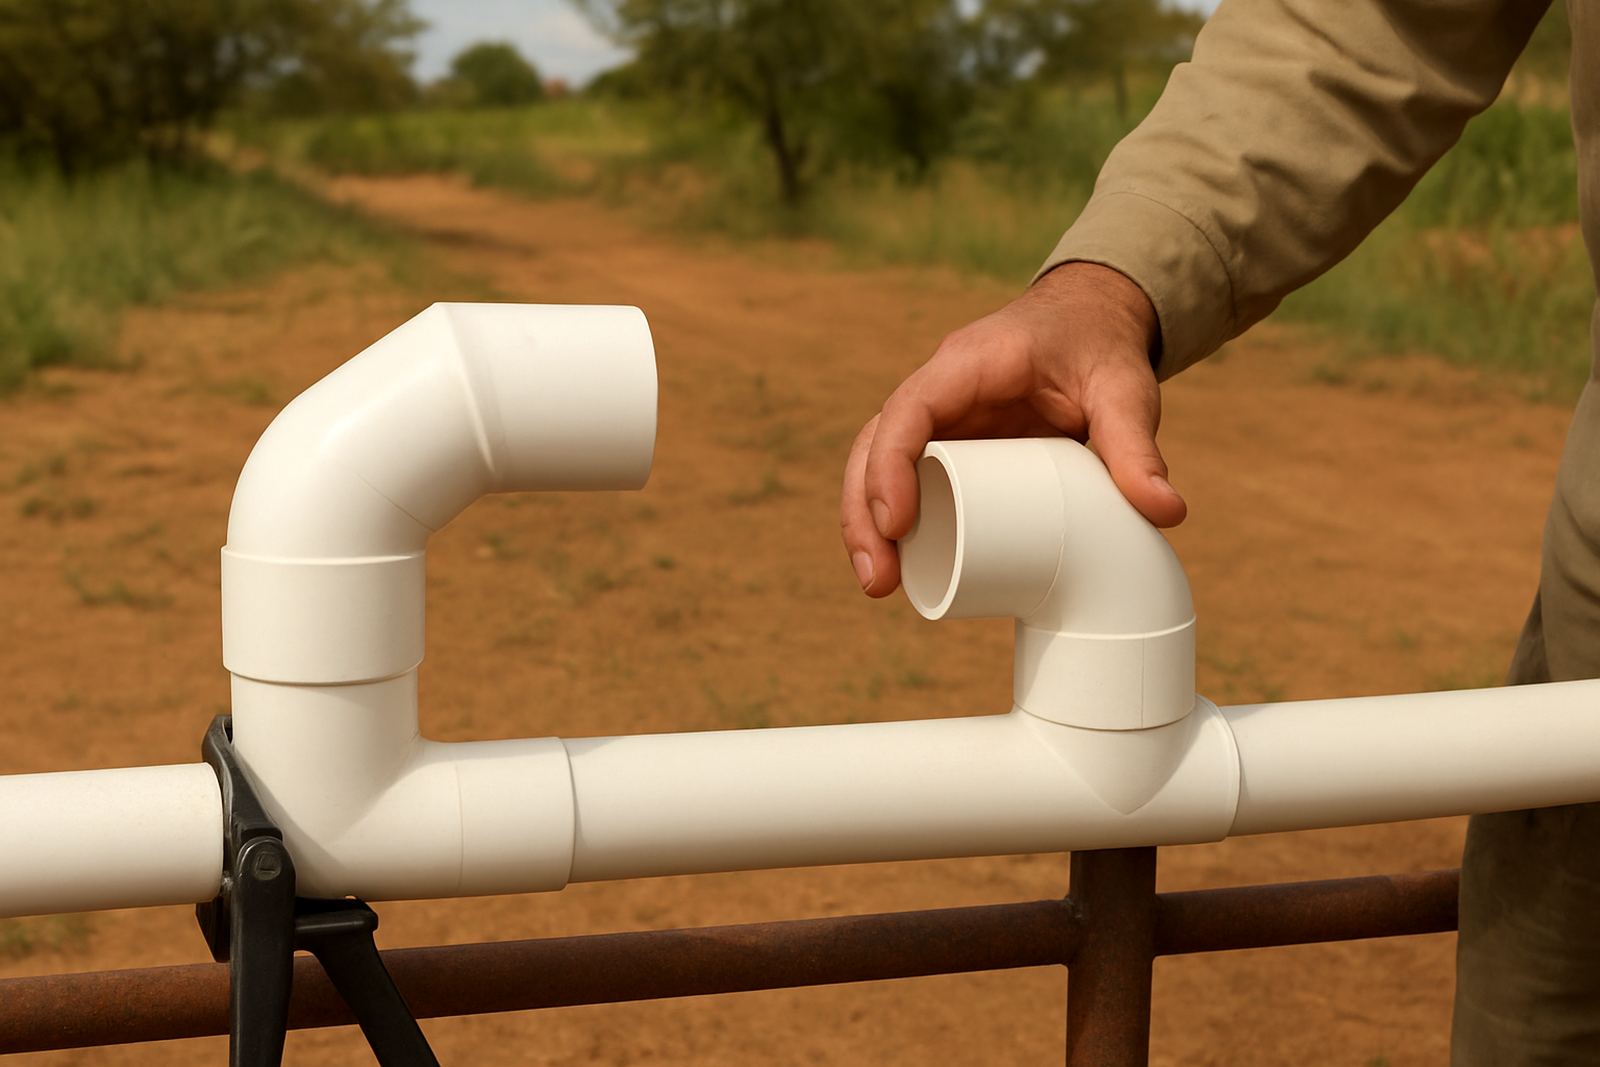

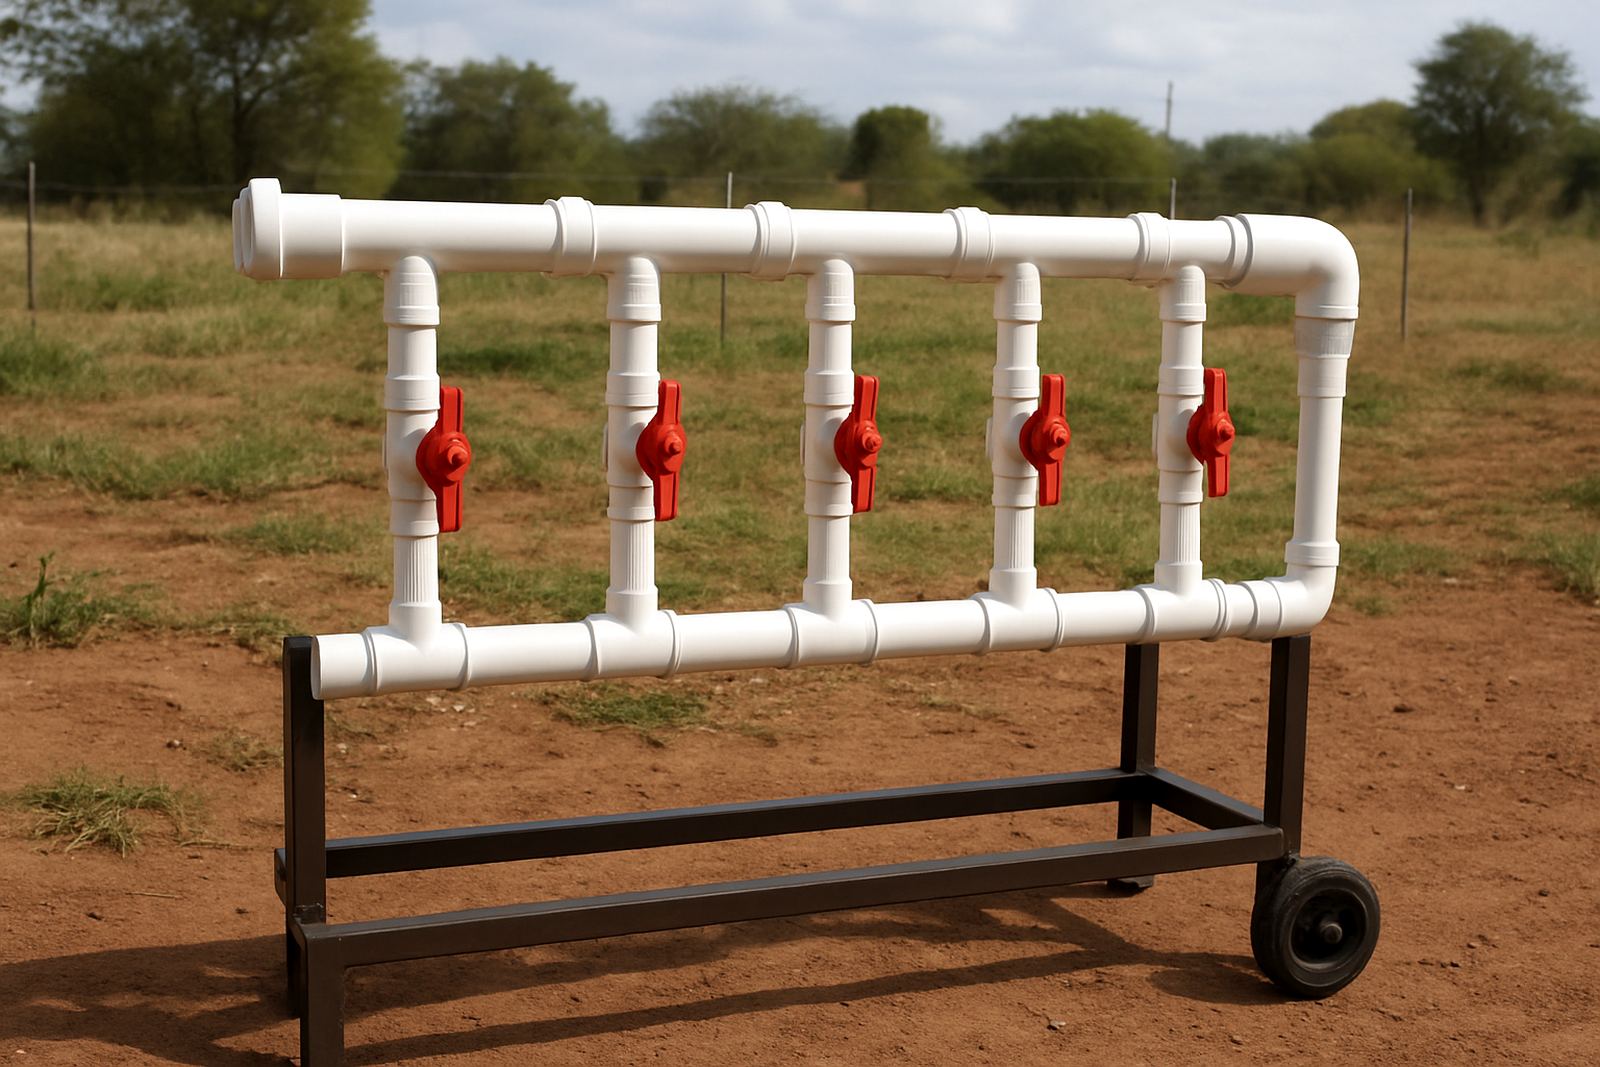
Start With The Job The Manifold Must Do
Before you mark out a manifold, decide what it has to control. A small garden block, a vineyard line, a shade-net nursery or a large maize irrigation run all ask for a different outlet count and valve grouping. If the manifold is planned around the actual water demand, you avoid extra fittings, awkward pipe turns and a system that is hard to isolate when there is a leak.
For most irrigation layouts, the manifold is there to split one supply into separate zones so each section can be switched, checked and maintained without shutting down the whole site. That is especially useful on farms around Polokwane and the wider Limpopo area where water storage and pump runtime must be managed carefully. A clean layout also helps during load-shedding, because you want to know exactly which zone can be run when power returns and which line needs attention first.
- Count the irrigation zones first, then size the outlet group.
- Leave enough room for valves, unions and future line changes.
- Keep the manifold close to the point where the supply line enters the block.
Give Every Outlet Space To Be Reached
One of the biggest mistakes is packing outlets too tightly together. A manifold should be neat, but not cramped. Each outlet needs room for a valve, a union or coupling, and enough hand space to open, close or remove a part without cutting into the rest of the assembly. If a technician cannot get both hands around a fitting, the layout will become a problem later.
Think about maintenance in the heat of summer, when dust builds up and the ground is hard. Think too about coastal humidity on the eastern side of the country, where metal parts can corrode faster if they are left exposed. A bit of extra spacing now saves time later when a fitting needs tightening or a blocked line must be flushed. On many sites, 150 mm to 300 mm between working points is a practical starting point, but the final spacing should suit the pipe size and the parts being used.
- Allow space for a valve handle to move fully.
- Keep unions where they can be undone without disturbing the whole row.
- Mount the manifold where mud, floodwater and accidental knocks are less likely.
Use A Logical Order For Zoning And Labelling
A good manifold layout follows a simple order. Put the zones in the sequence the operator will use them, not just the sequence that looks neat on paper. If the nursery block is watered every morning and the trial section only twice a week, make daily-use outlets the easiest to reach. The same applies on mixed farms where pasture, orchards and young plantings are all tied into one supply.
Clear labelling matters just as much as pipe layout. Mark each outlet so the person on site knows exactly which line is which. In a busy season, that saves a lot of time and stops the wrong block from being opened by mistake. A small tag, engraved plate or waterproof marking can do the job, provided it is placed where it will still be readable after rain, sun and chemical spray. Mpho Sekgobela often reminds contractors that a simple label now is better than a long phone call later.
- Arrange zones in the same order as the field or block map.
- Label each outlet clearly for day to day use.
- Keep spare blanks or capped ports ready if expansion is likely.
Plan For Pressure, Flow And Clean Shutoff
Manifold layout is not only about where the outlets sit. It also affects how well water moves through the system. If the first outlet takes too much flow, the last one may receive less pressure, which can lead to uneven watering. That is why the supply point, pipe diameter and outlet count all need to be matched before installation starts.
A practical layout also gives clean shutoff. When one zone closes, the pressure change should not strain nearby fittings or cause water hammer. That is where careful spacing, sound jointing and the right selection of solvent-weld fittings help. If the system is going onto a farm in Tzaneen or Hoedspruit where long runs and variable terrain are common, it is worth checking the outlet grouping against the elevation changes and pump capacity, not just the map size.
When the pressure is balanced correctly, the operator spends less time correcting faults and more time keeping the crop supplied. That is the point of good manifold planning: less waste, less downtime, and fewer repairs in the middle of a busy week.
Leave Room For Servicing And Future Changes
Many irrigation systems grow in stages. A contractor installs the first block, then the client adds more rows, another pump or a new planting section later. If the manifold is boxed in from the start, those changes become expensive and messy. A better approach is to leave enough straight pipe and open space for future outlets, extra valves or easy replacement of worn parts.
Service access matters too. A manifold placed in a low trench without proper access cover can fill with silt after heavy rain. A unit left in direct sun with no protection can become brittle over time. In the Limpopo heat, that can shorten the life of exposed components, so shaded placement, simple shelter or at least sensible positioning is worth the effort. A tidy installation should still be easy to inspect with one quick look.
- Leave expansion space at one end of the manifold.
- Provide access for flushing, tightening and replacement.
- Protect exposed fittings from direct sun and standing water.
A Practical Limpopo Example
Take a mixed farm outside Polokwane with a 6 outlet manifold feeding vegetable blocks, a young avocado section and a nursery bay. The manager wants each block isolated for watering, fertilising and maintenance. In that case, the manifold should sit near the supply entry, with the outlets ordered by the field layout and the nursery first because it needs the most regular attention.
The contractor would reserve space for future expansion, fit clear labels, and make sure the main line can be shut off without disturbing the rest of the row. Because parts may need replacing during the dry season, the owner also wants enough clearance to work with a wrench without digging around in the soil. That sort of setup is simple, but it works well in our local conditions where dust, heat and occasional storm water all affect the installation.
On a site like that, quantity checks before collection and a proper stock plan matter just as much as the final assembly. A missed fitting can delay the whole job, especially when the site is far from the branch base. Good planning keeps the manifold neat, serviceable and ready for the next stage of the project.
The Layout Check Before You Glue Anything
Before any jointing starts, walk the line and check the full layout against the block plan. Make sure the outlet count matches the zones, the fitting sizes are correct, and the installer has enough working room around every junction. It sounds basic, but this is where many avoidable errors are caught.
A quick layout check should include the following:
- Number each outlet against the irrigation plan.
- Check valve direction and flow path before solvent-weld work begins.
- Confirm that maintenance access is possible after backfilling or mounting.
- Test whether the operator can reach all controls without strain.
That final check is worth doing twice. Once the joints are set, moving a manifold is never as easy as planning it properly the first time.