
Check the line before you add pressure
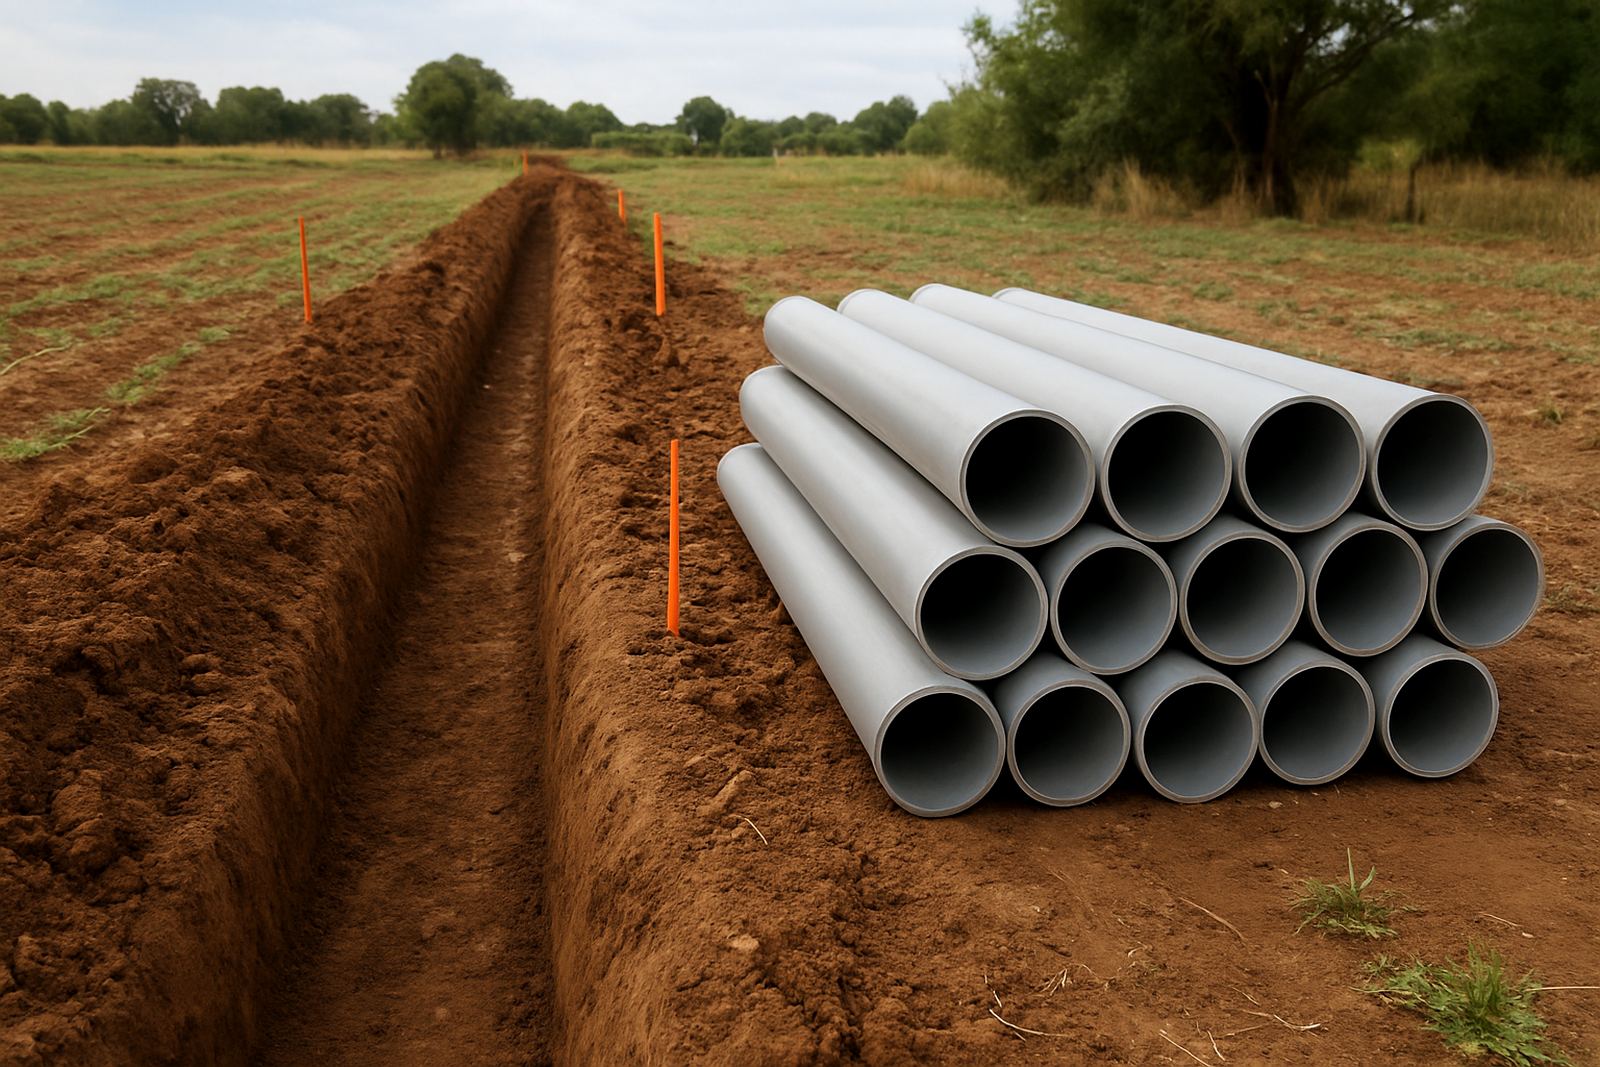
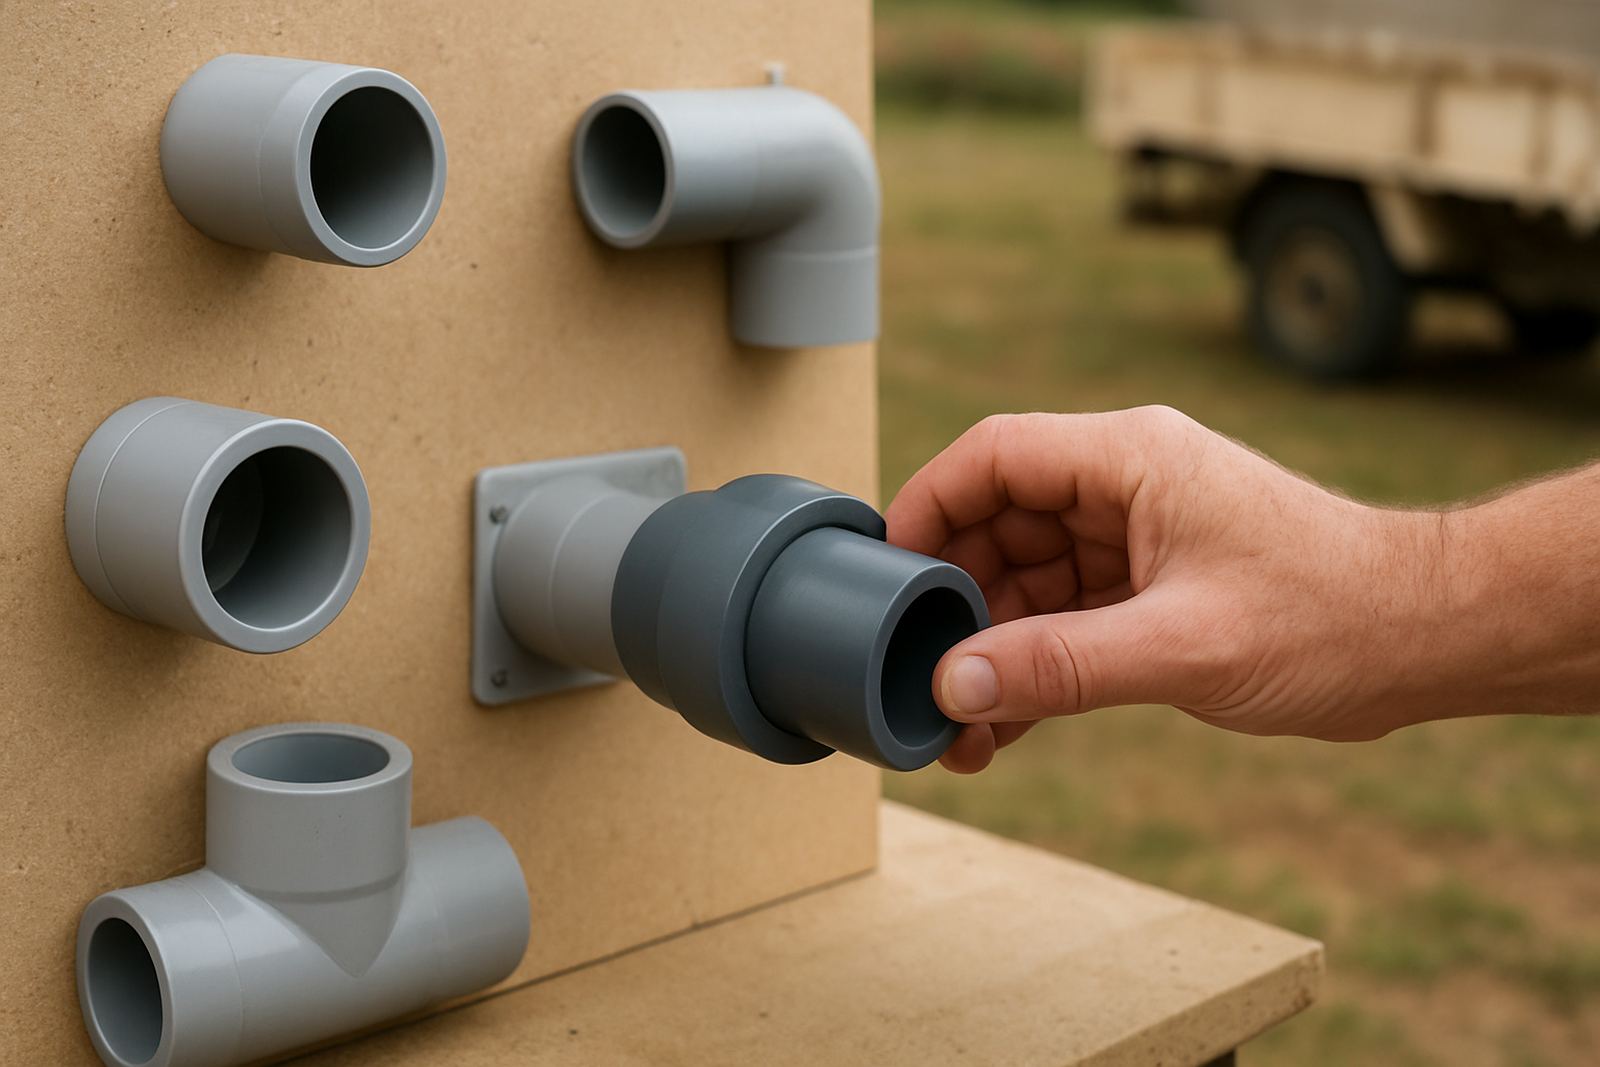
Start with a walk along the full section and look for anything that could affect the test. Check that solvent-weld joints have cured properly, the pipe is supported, and all valves, end caps and take-offs are fitted the way they should be. If the line has been left in the sun, shaded the previous day or handled in dusty conditions, wipe the joint areas clean before you begin.
A good test starts with the basics. Even a small bit of grit in a socket can give you a false reading or create a drip later on, so take the time now.
- Confirm all pipe ends are sealed or connected.
- Inspect every glued joint for full insertion and even bonding.
- Make sure clamps, supports and anchors are in place.
- Check that air release points are available where needed.
Choose the right test pressure for the section
Do not guess the pressure. Use the pipe rating, the fittings in the line and the system design to set a safe test level. For small irrigation runs on farms or landscaped sites, the test should be high enough to show weak points but not so high that it strains the pipe or fittings. If you are working near hot ground in Limpopo, remember that temperature can push the gauge reading around during the day.
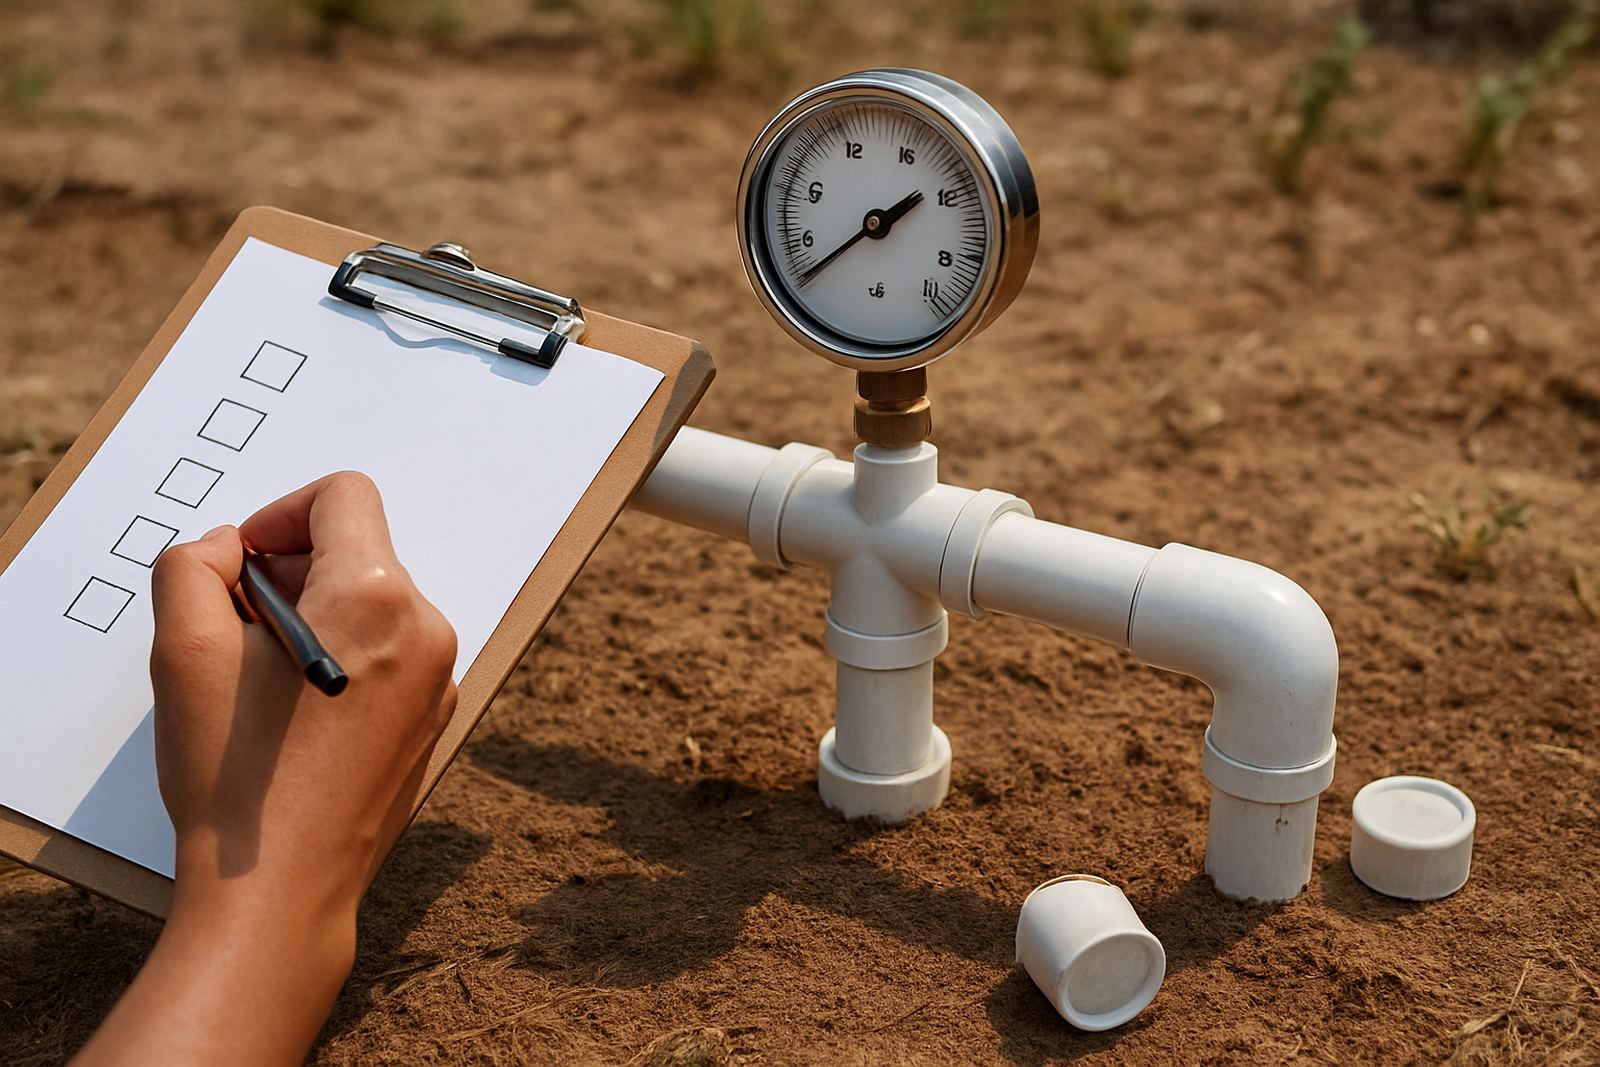
Set up the gauge where it can be read clearly and make sure the pump, valve and line are ready for a controlled fill. A steady fill is better than forcing the line full too fast.
- Use a gauge that matches the test range.
- Keep the test below the maximum working limit of the line.
- Record the starting pressure and time.
- Test one section at a time on larger jobs.
Fill slowly and bleed out trapped air
Open the line slowly and let water enter at a controlled rate. Trapped air can make the pressure jump and drop, which makes the test harder to trust. Bleed air from the high points, filter housings and any fittings that tend to trap pockets. If the line is long, listen for any hissing or knocking as the air moves through.
Once the line is full, close the bleed points and let the pressure settle before you start the actual hold test. This is especially important on long irrigation runs where air can hide in the pipes and give a false pass.
- Open valves gradually, not all at once.
- Bleed air from high points and end points.
- Watch for pressure spikes as the line fills.
- Wait for the gauge to stabilise before timing the hold.
Hold the pressure and watch for leaks
Once the line is stable, hold the pressure for the agreed test period and walk the full section. Look for moisture at joints, drips under fittings, wet soil lines and any settling around buried connections. On sandy soil you may see water move quickly, while clay can show a surface puddle more clearly. In a place like Ladanna, where many jobs run from yards into open ground, it is worth checking both the visible fittings and the buried line ends.
If the gauge drops, do not rush to blame the pipe. First check whether there is trapped air still escaping or whether a valve is not closing fully. A slow drop usually means there is a leak somewhere, even if it is small.
- Walk the full line during the hold period.
- Check every solvent-weld joint and threaded transition.
- Inspect valves, end caps and take-offs.
- Mark any wet spots or gauge drops for repair.
Fix faults before the section is commissioned
If you find a leak, relieve the pressure fully before opening the joint. Re-cut and re-make the faulty connection if needed, then allow the solvent-weld to cure before testing again. Do not patch over a weak joint and hope it will hold. That might get the line running for a day, but it usually comes back later with more damage.
For contractors, this step protects your handover and keeps the client confident. For farmers and landscapers, it means the first watering cycle starts with a line that you can trust.
- Depressurise the section before any repair.
- Replace damaged fittings instead of forcing them back.
- Allow proper curing time before retesting.
- Repeat the full test after every repair.
Log the results and hand over with confidence
Write down the date, the section tested, the pressure used and the result. That record helps with repeat work, warranty queries and future maintenance. If the system has several zones, keep separate notes for each one so that the next visit is quicker and cleaner. It also helps when the client wants to know what was tested before planting or irrigation starts.
A simple example: a 2 hectare irrigation section outside Polokwane can look fine at first glance, but a small joint leak near a valve box may only show once the line holds pressure for a few minutes. Catching that before commissioning saves water, labour and a second visit in the heat.
Use this checklist every time and the pressure test becomes a routine part of the job, not a stressful extra step.