Why Cleaning Matters Before Solvent Welding
Solvent welding is not just about joining two PVC parts together. It depends on a clean mating surface so the cleaner and cement can work properly, soften the pipe and fitting, and form a solid chemical bond. If dust, grease, wet soil, or pipe shavings sit between the surfaces, the joint may look fine on the outside but fail when the line is pressurised.
In irrigation work, that matters even more because pipes spend their life outdoors. A line laid across a farmyard near Polokwane can pick up red dust, while a system in the Lowveld may carry sand and fine grit that sticks to damp pipe ends. Coastal moisture, sun exposure, and repeated handling all add to the risk. A neat cut is only the start, preperation is what gives the joint a proper chance to hold.
For farmers, landscapers, and contractors, one leaking joint can mean lost water, extra labour, and unhappy plants. If the line is part of a main supply or a pump-fed network, a failed joint can stop the whole section. That is why cleaning before cementing is not a small step. It is part of the job.
What Must Be Removed From the Pipe End
Before you even open the cement, check the pipe end and fitting socket carefully. The surface should be dry, smooth, and free from anything that might block contact. After cutting, there is often a thin ridge, powder, or loose swarf that needs to come off. If the pipe was stored on the back of a truck or left on the ground, there may also be oil, mud, or fine sand on it.
- Dust from storage or transport
- Grease from hands, tools, or machinery
- Loose shavings from cutting or chamfering
- Wet soil, grass, or fertiliser residue
- Standing water inside the pipe end
Do not assume a quick wipe with a sleeve is enough. In hot weather, grime can stick to the pipe and fitting more than you expect. In winter, condensation can form on cold pipe surfaces early in the morning. If the pipe is damp or dirty, the cement may not spread evenly and the joint can lose strength.
The Right Cleaning Steps On Site
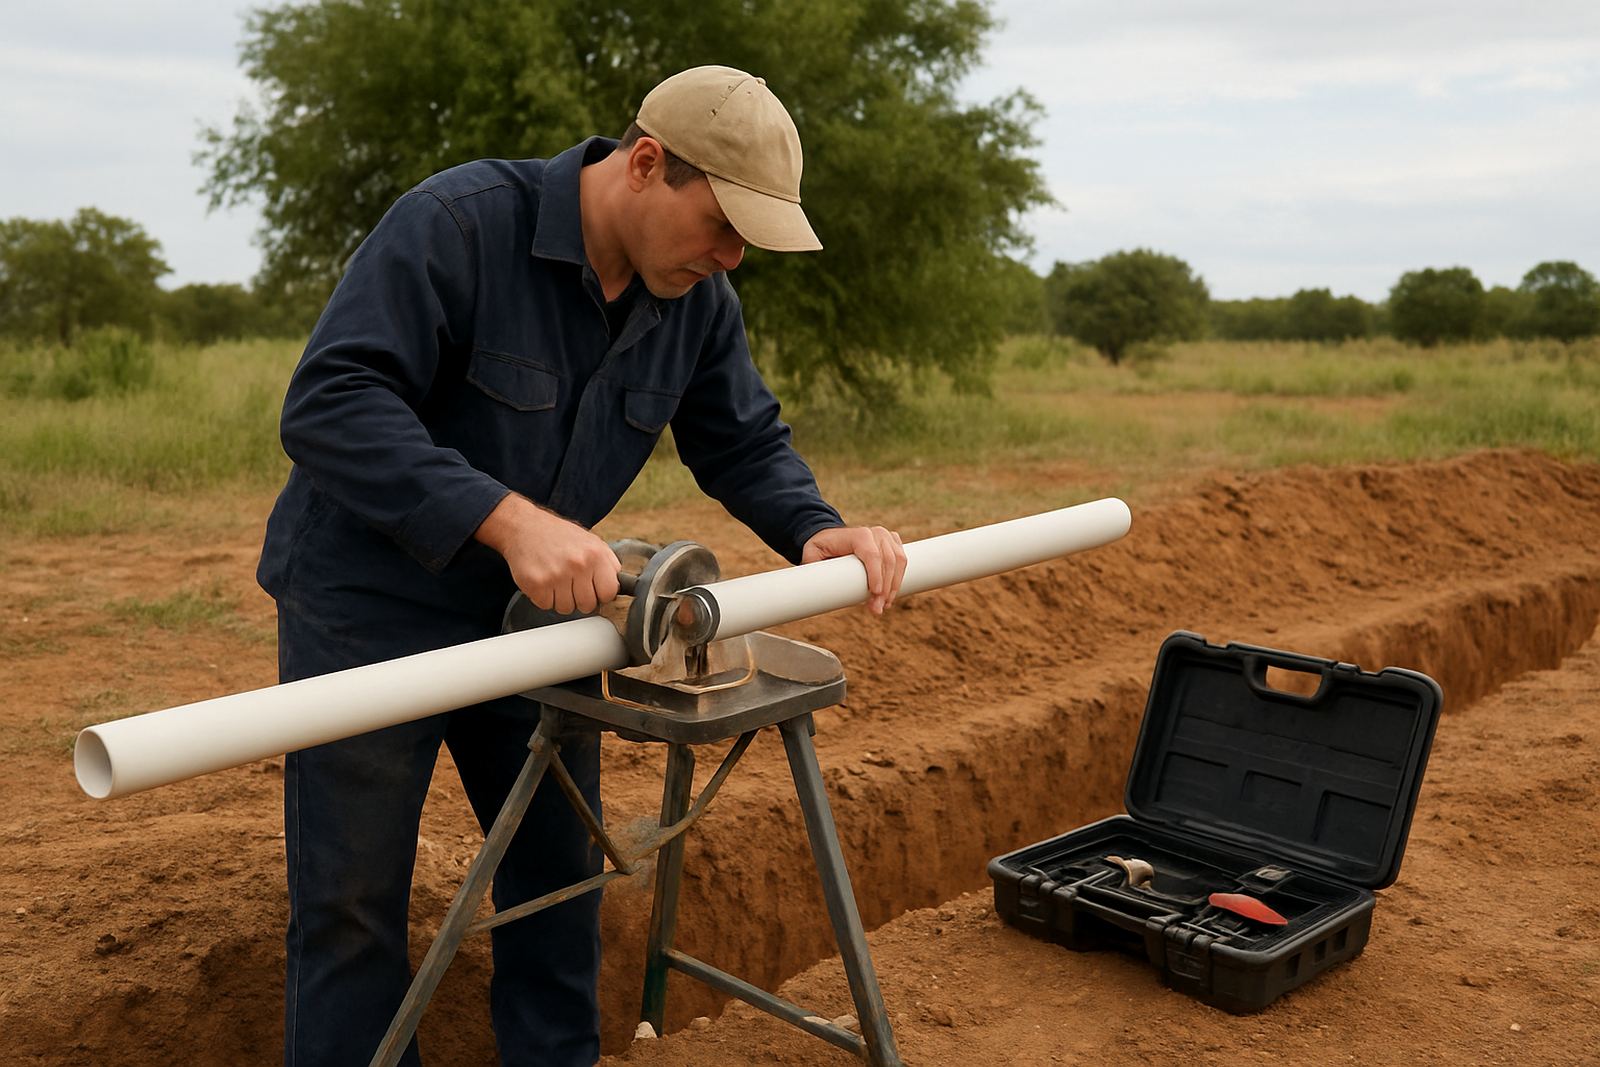
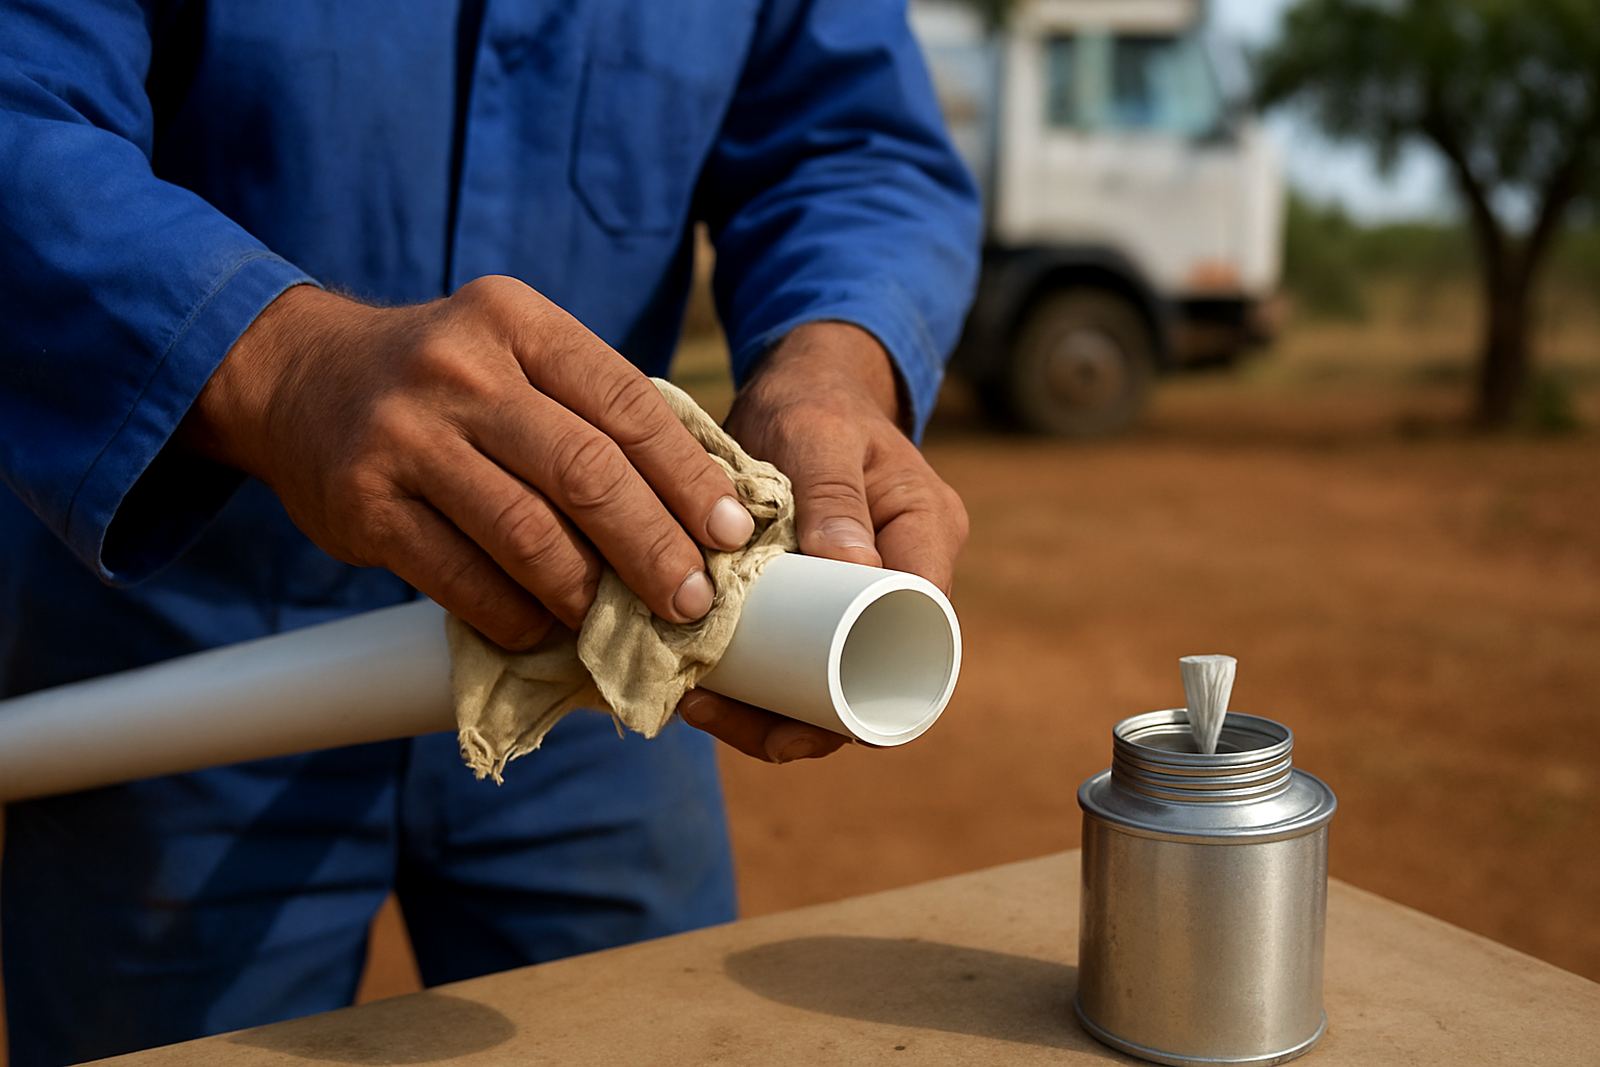
A proper cleaning routine does not need complicated gear. It just needs to be done consistently. Start by cutting the pipe square. Then remove burrs and lightly chamfer the edge so the pipe enters the fitting without scraping the cement off inside the socket. After that, clean the outside of the pipe end and the inside of the fitting socket with a suitable cleaner and a lint-free cloth if needed.
Work in sequence so dirt does not go back onto the cleaned area. If you are on a farm or in a landscaping crew, keep the cleaner, cement, brush, and cloths in one protected box. That helps when you are working in wind or dust. In Limpopo, a light breeze can put grit back onto an open pipe end within minutes.
- Cut the pipe square and remove all burrs
- Dry-fit the parts first to check alignment
- Clean both surfaces, not only the pipe
- Let the cleaner flash off before cementing
- Apply cement evenly and without delay
Do not rush from cleaning to joining if the surface is still wet with solvent. Give it a moment to flash off, then assemble straight away. That small pause can make the difference between a neat seal and a weak one.
Common Mistakes That Cause Leaks Later
Most failed joints do not fail because the material was bad. They fail because the surface was not prepared properly. One common mistake is cleaning only the pipe and forgetting the fitting socket. Another is using a dirty cloth that just moves grime around instead of removing it. Some crews also over-handle the pipe after cleaning, leaving finger marks or dust on the joint area.
Another issue is over-applying cement onto a dirty surface. More cement does not fix contamination. It can trap loose particles and make the joint look sealed while still leaving weak spots inside. If the pipe has been sitting in direct sun, the surface can also be too hot to handle comfortably, which makes workers rush and skip steps.
On larger irrigation jobs, repetition can become the enemy. When there are many joints to make in one day, it is easy to settle into a fast rhythm and stop checking every end properly. That is when leaks start showing up after the line is pressurised, usually at the least convenient time.
Local Conditions Around Limpopo Put Extra Pressure On Joints
In Polokwane and across Limpopo, irrigation systems often work in tough conditions. Dust from roads and fields, strong sun, and regular handling all affect how a joint performs. Around Mokopane and Lephalale, many installations deal with dry, abrasive conditions that leave fine grit on pipes. In Tzaneen and Hoedspruit, moisture and heat can create a different set of problems, especially if the pipe ends are not kept clean and dry before assembly.
For contractors working on farms, school grounds, estates, and municipal systems, cleaning is part of quality control. A tidy joint is easier to inspect, easier to trust, and less likely to return as a call-back. It also saves time in the long run because the crew does not have to open the line again to fix avoidable mistakes.
When stock is trucked across the province or couriered further afield, packaging and storage matter too. Pipes and fittings that arrive clean still need proper handling on site. Once a pipe end has touched the ground or a dusty tray, it should be cleaned again before joining.
How To Keep Your Jointing Area Ready
A clean joint starts with a clean work area. If the bench, trailer, or cutting station is covered in soil and offcuts, your fittings will pick up contamination before you even begin. Keep the basics close by and separate clean fittings from used tools and dirty pipe ends. It sounds simple, but on a busy site it saves a lot of trouble.
- Store fittings in closed containers when not in use
- Keep cleaner and cement sealed between jobs
- Use separate cloths for wiping and for final cleaning
- Keep pipe ends off bare ground
- Check each joint before pressure testing
For repeat orders and larger farm schedules, planning the material list ahead of time helps too. If the right sizes, reducers, elbows, valves, and tools are on hand before the crew starts, there is less stopping and starting. Less handling means less dirt on the parts and fewer rushed joins.
A Practical Check Before Pressure Test Day
Before the system is filled, walk the line and look at every joint. A clean finish will usually show even cement coverage and proper insertion depth, with no loose debris stuck around the socket. If a joint looks dry, dusty, or uneven, it is better to deal with it before water is added. Once the line is under pressure, a small mistake becomes much harder to ignore.
A good habit is to ask three questions before moving on: was it cut properly, was it cleaned properly, and was it joined without delay? If the answer is yes to all three, the joint has a far better chance of lasting through the season. That is especially important on irrigation systems that run daily, sometimes under load-shedding conditions where pumps switch on and off more often than planned.
Clean surfaces do not guarantee perfection, but they remove one of the biggest causes of failure. In the field, that is worth the extra minute.